
It is an interesting year for chilis in Upcounty Hawaii. Cold, wet, Winter weather has changed their schedule. This is normally time for their big growth time, but this year the season is different. Am I ok with it? Sort of. This is why I plant so many heirloom varieties. Some are loving this weather, while others are waiting for their time. I learned many things this year. The importance of pruning, and timing the pruning to the plant’s growth cycle. I also learned how to grow chilis from cuttings. Though only one lone Thai Dragon Pepper was a successful grow out from a cutting, it is a lovely plant, and I learned that the method does work, and that I should try it throughout the year to find ideal times.
I also did two rounds of grow outs from seed despite my Spring travels. I have two new success with orange Habanero, and Purple Cayenne. Then back to making sure to care for the varieties that have already shown potential. Like Black Hungarian, and Aji Limon (Lemon Drop.) Two peppers from two different parts of the globe, but both like the highly variable conditions at the farm.
I love to plant and transplant when it rains. Though it is bright and sunny in the video, the skies opened and closed several times in the past few days as yet another tropical storm spins by. I decided to start an absurd number of chilis this summer, knowing that it was now or never. Germination becomes more difficult in the months ahead. Many chilis go semi-dormant in Winter, unless we have a warm Winter. I get them going when we still have longish days, then we will see what the fall brings. It may get hot in Aug and September, which would set them up with strong growth. Or we may be having our Winter now. We never had Winter rain this year…so in many ways this is our Winter.
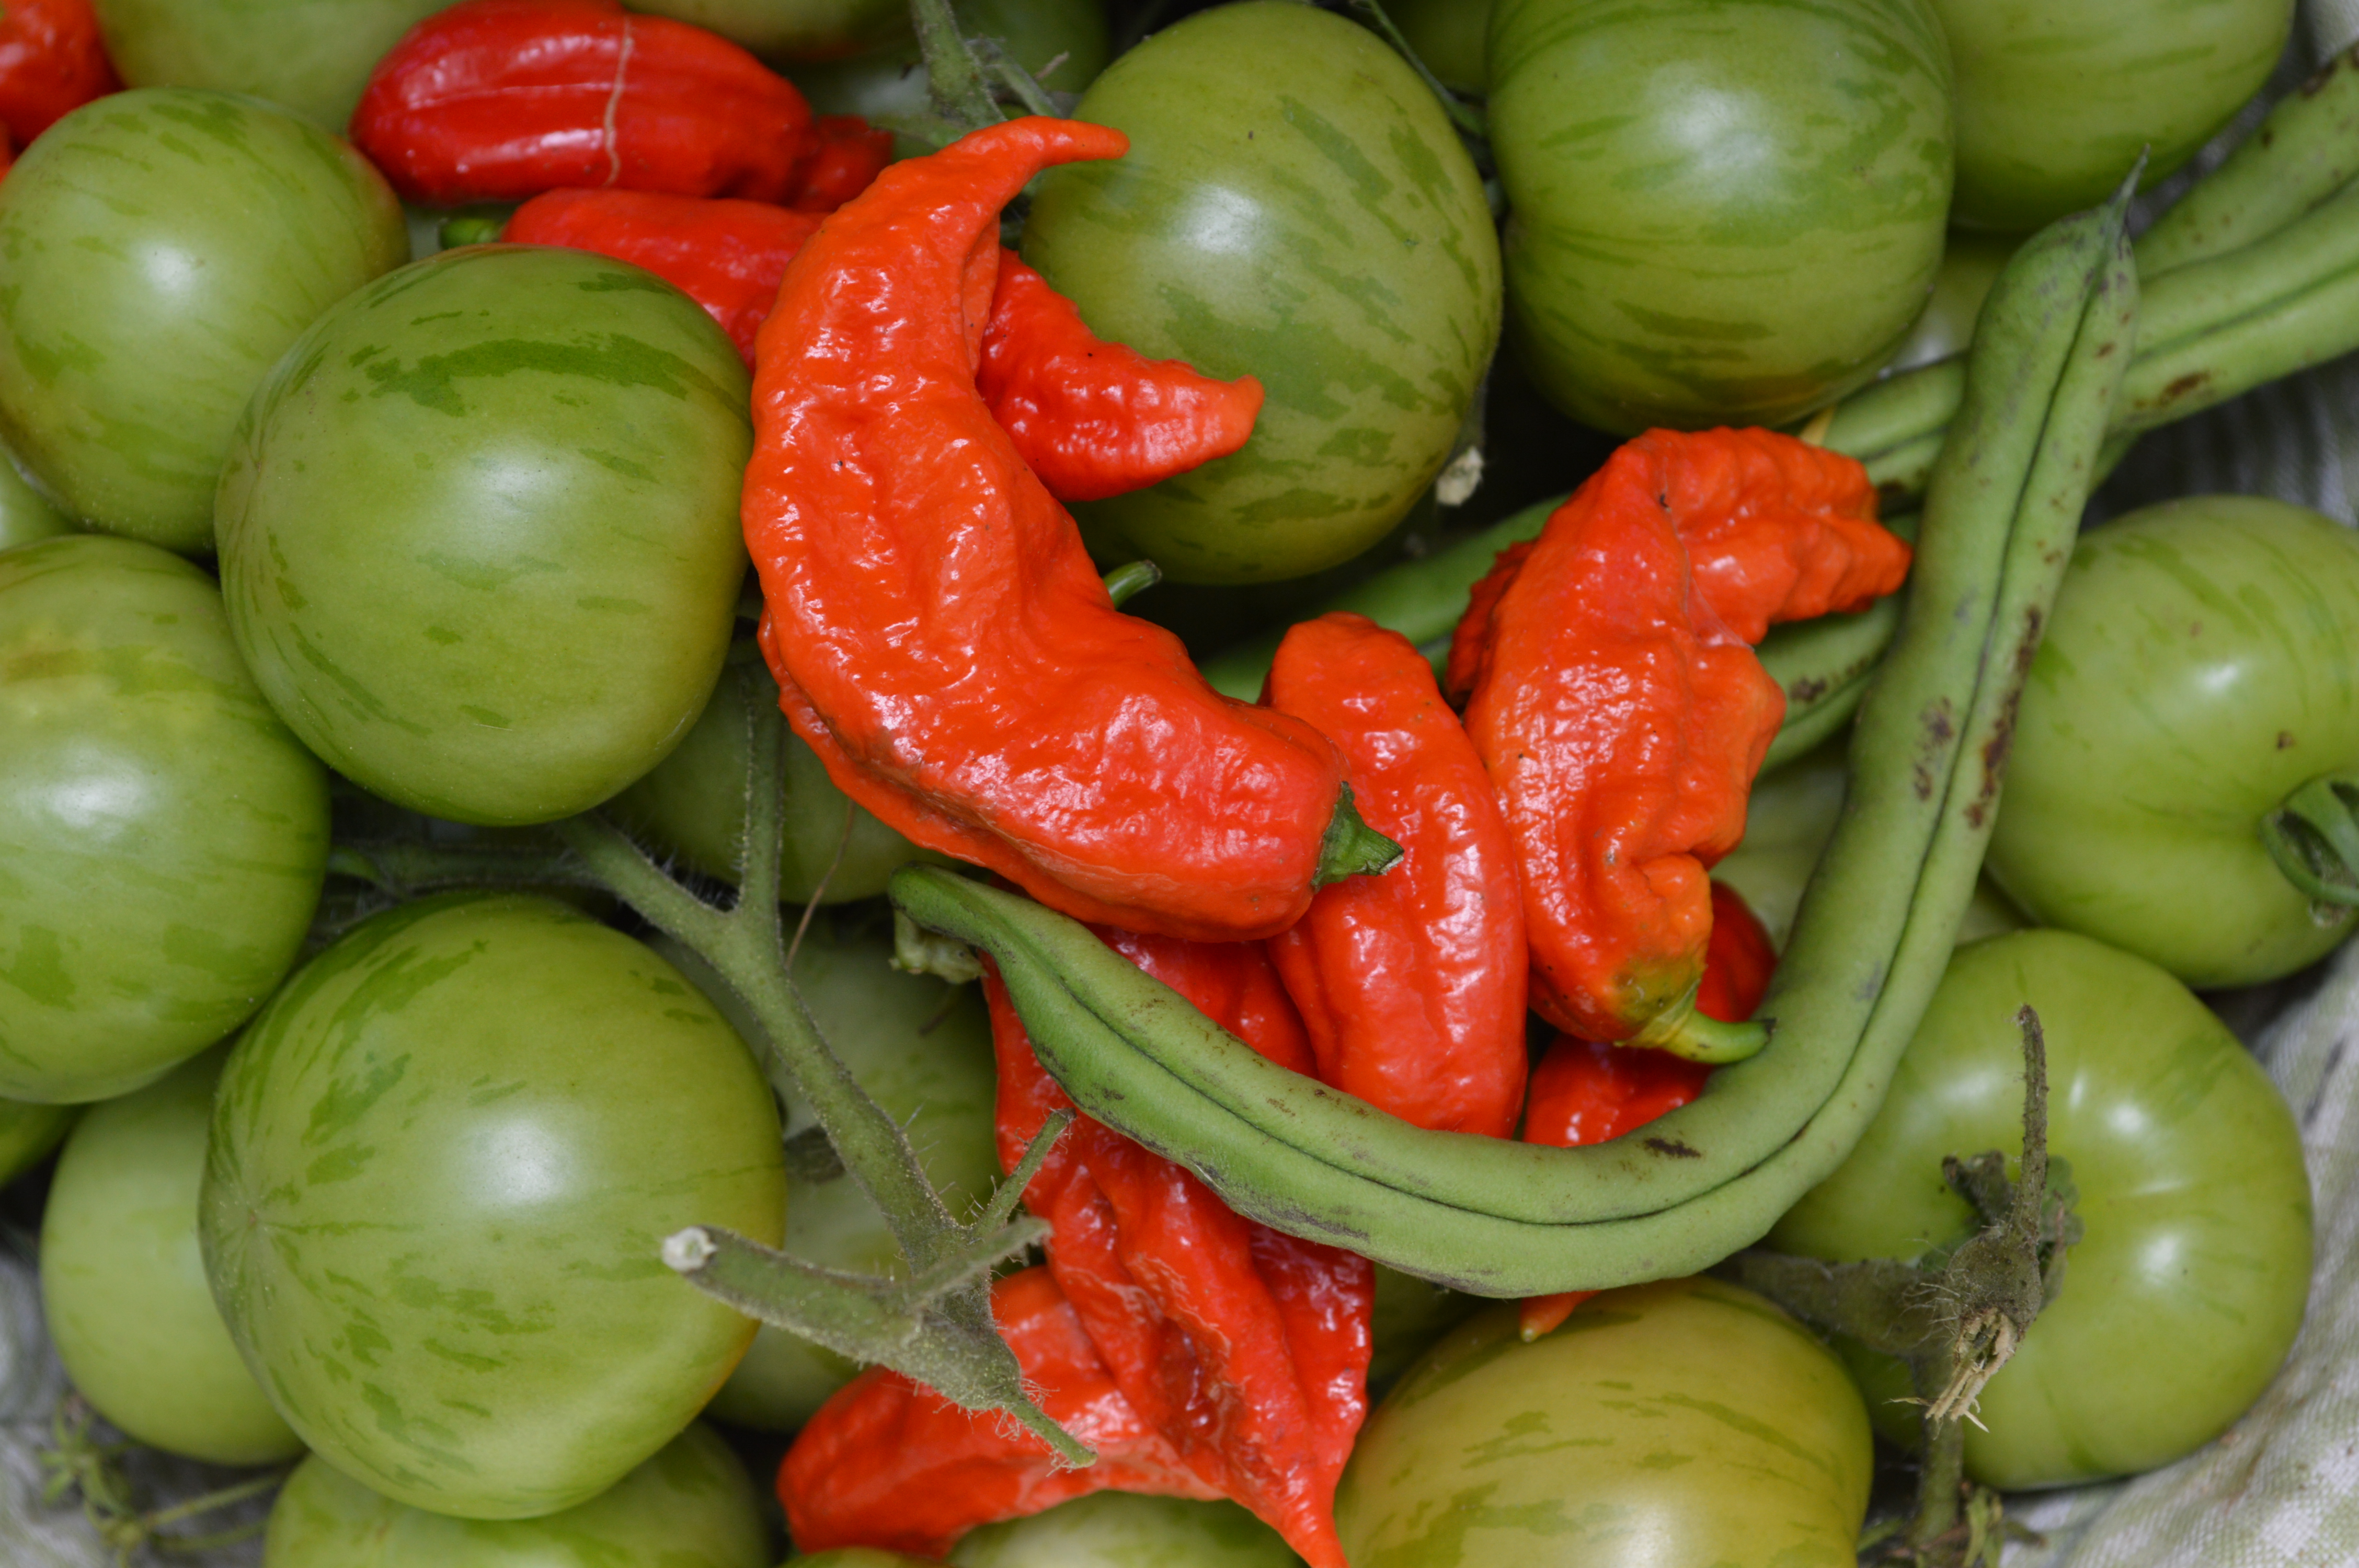
What I am learning, is that I may love chilis as much as I love squash. They too vary in heat, texture, and flavor. They also have lovely foliage, and flowers. They also are more tolerant than I would have ever guessed. They let the squash smother them, then appear alive and well from under the vines. I have some plants that are 2.5 years old now. They love my homemade fish fertilizer, and the Ghosts seems to like more water than I would have ever guessed. I harvested about 15 Ghosts off one yearling plant that is set right out with the squash. I have it in a container tub, and let it get some of the spray in route to the squash. It is a great way to have them be accessible, while also lifting them up above the squash leaf shade so they have optimal sun. Not to mention, it is easy to collect them so to cook with them, and one watering will water the whole lot. Containers can dry out quickly, so this is ideal. The peppers are healthy, happy, and thriving.
So here is a video to give some beginning farmers and gardeners an idea of how to make your own soil mix for your container garden. I recommend that everyone grab up large pots and tubs when they seem them being discarded. They come in handy, and it allows you to have a garden on your lanai, doorstep, or in my case, containers mix right in with other plants on the farm.
I choose to transplant my chili peppers when they get a couple pairs of leaves. That gives them a more substantial root system, and they are less likely to wilt and die after transplanting. I get several plants going in each big container, if they all take, I can always transplant some of them, giving the others more space. I often add a squash vine to the mix ( I know I know) or a basil plant, so to get a variety going. These containers will be put on a wire mesh table top where nutrients, and water will drizzle onto the squash vines. I give them fish emulsion monthly. It works wonders. The two year old plants have over 100 blooms this year…even in partial shade, and unusual weather.
I began fermenting this past week, and I am excited about the flavor of the orange Habanero in one of the squash ferments. More on that later…I am just throwing that out so to encourage you all to grow more than you think you will use. Many people struggle with growing a variety of peppers, so they may be likely to trade for some of your chili bounty.


