Tag Archives: no-till

The Climbers

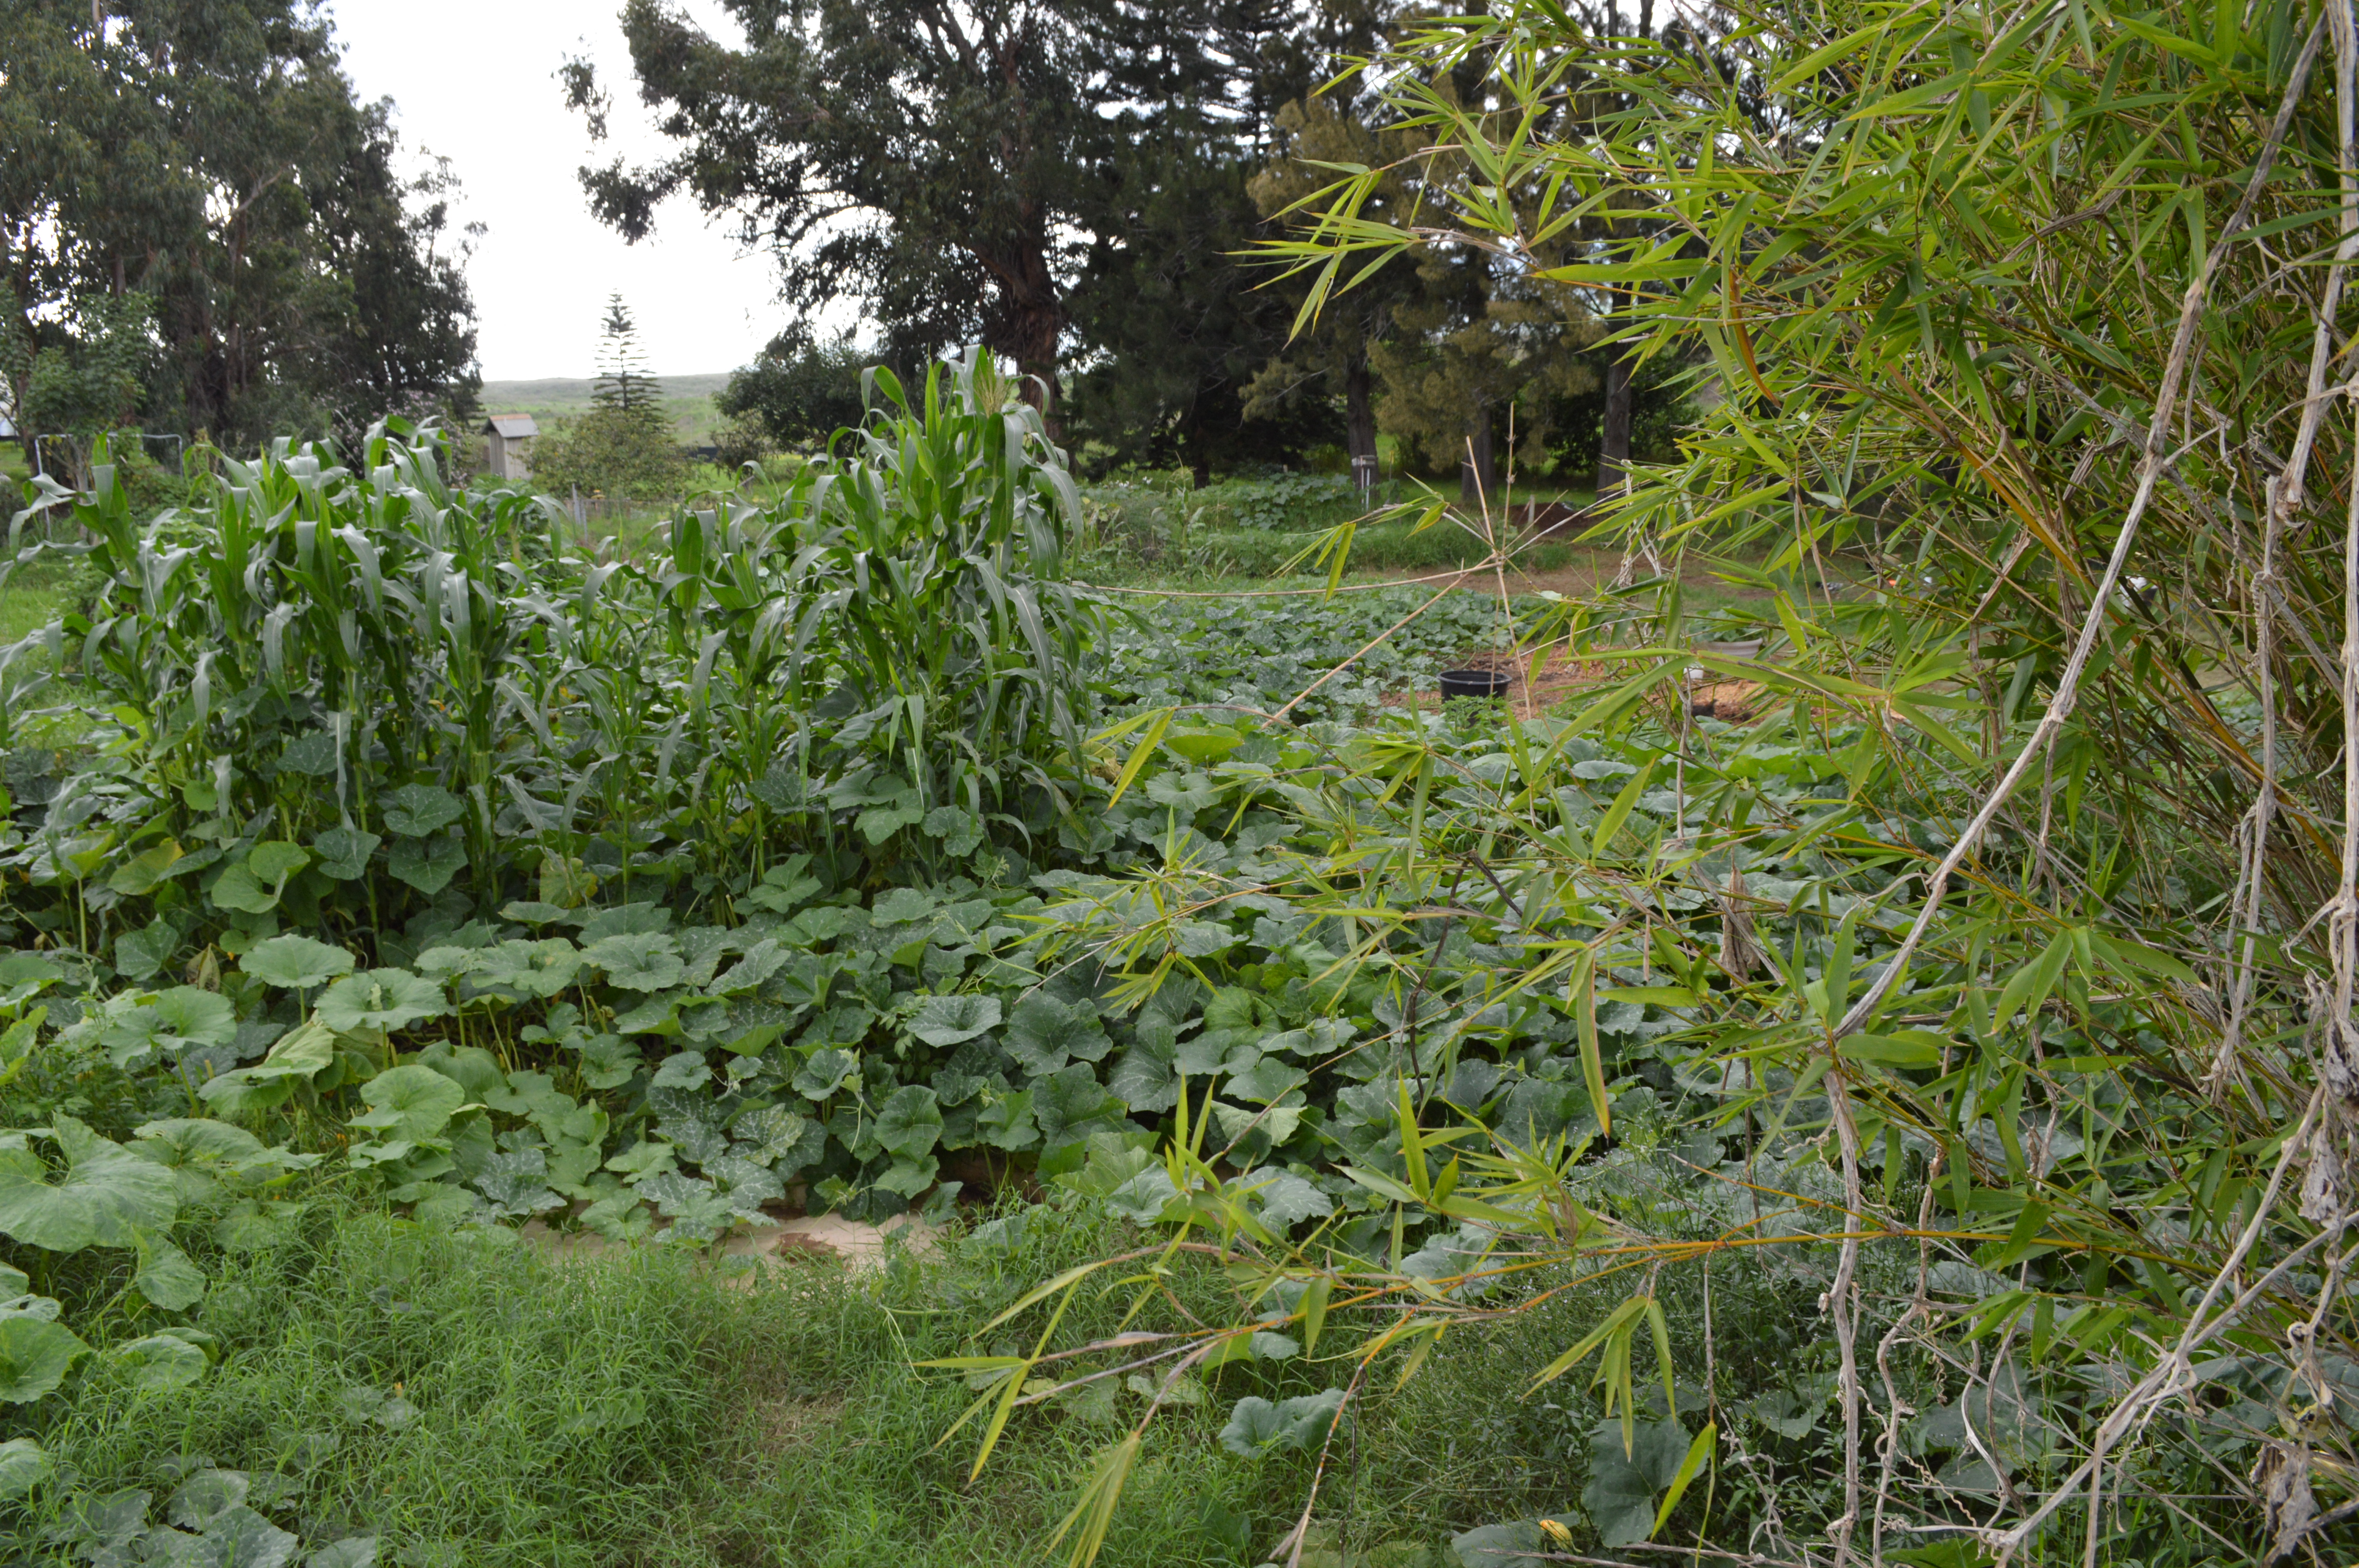
Squash are either looked upon as amazing, sprawling, productive plants with a mind of their own, or else space hogs that need to be to be reigned in.  Obviously I see nothing but beauty and inspiration in their vines, but one of the most FAQ that I get is how do you control them?  The answer is simple, the more you try to rearrange their vines, cut them back, or run over them with a lawn mower, the more you are destroying your chances of being a successful squash grower.

I advise Hawaii growers to prune both Winter squash and edible gourds back once or twice a year, after harvest.  What I hear, is a lot of people cutting off vines as they are getting ready to flower and set fruit, then they wonder why they didn’t get squash.  Pick your battles here, folks. You get one or the other:  tidy garden or squash.  Considering that the state of Hawaii was down to one commercial grower before I started, one would think that if you got a plant established enough where it was spreading all over, you would leave it alone and let it reach out.

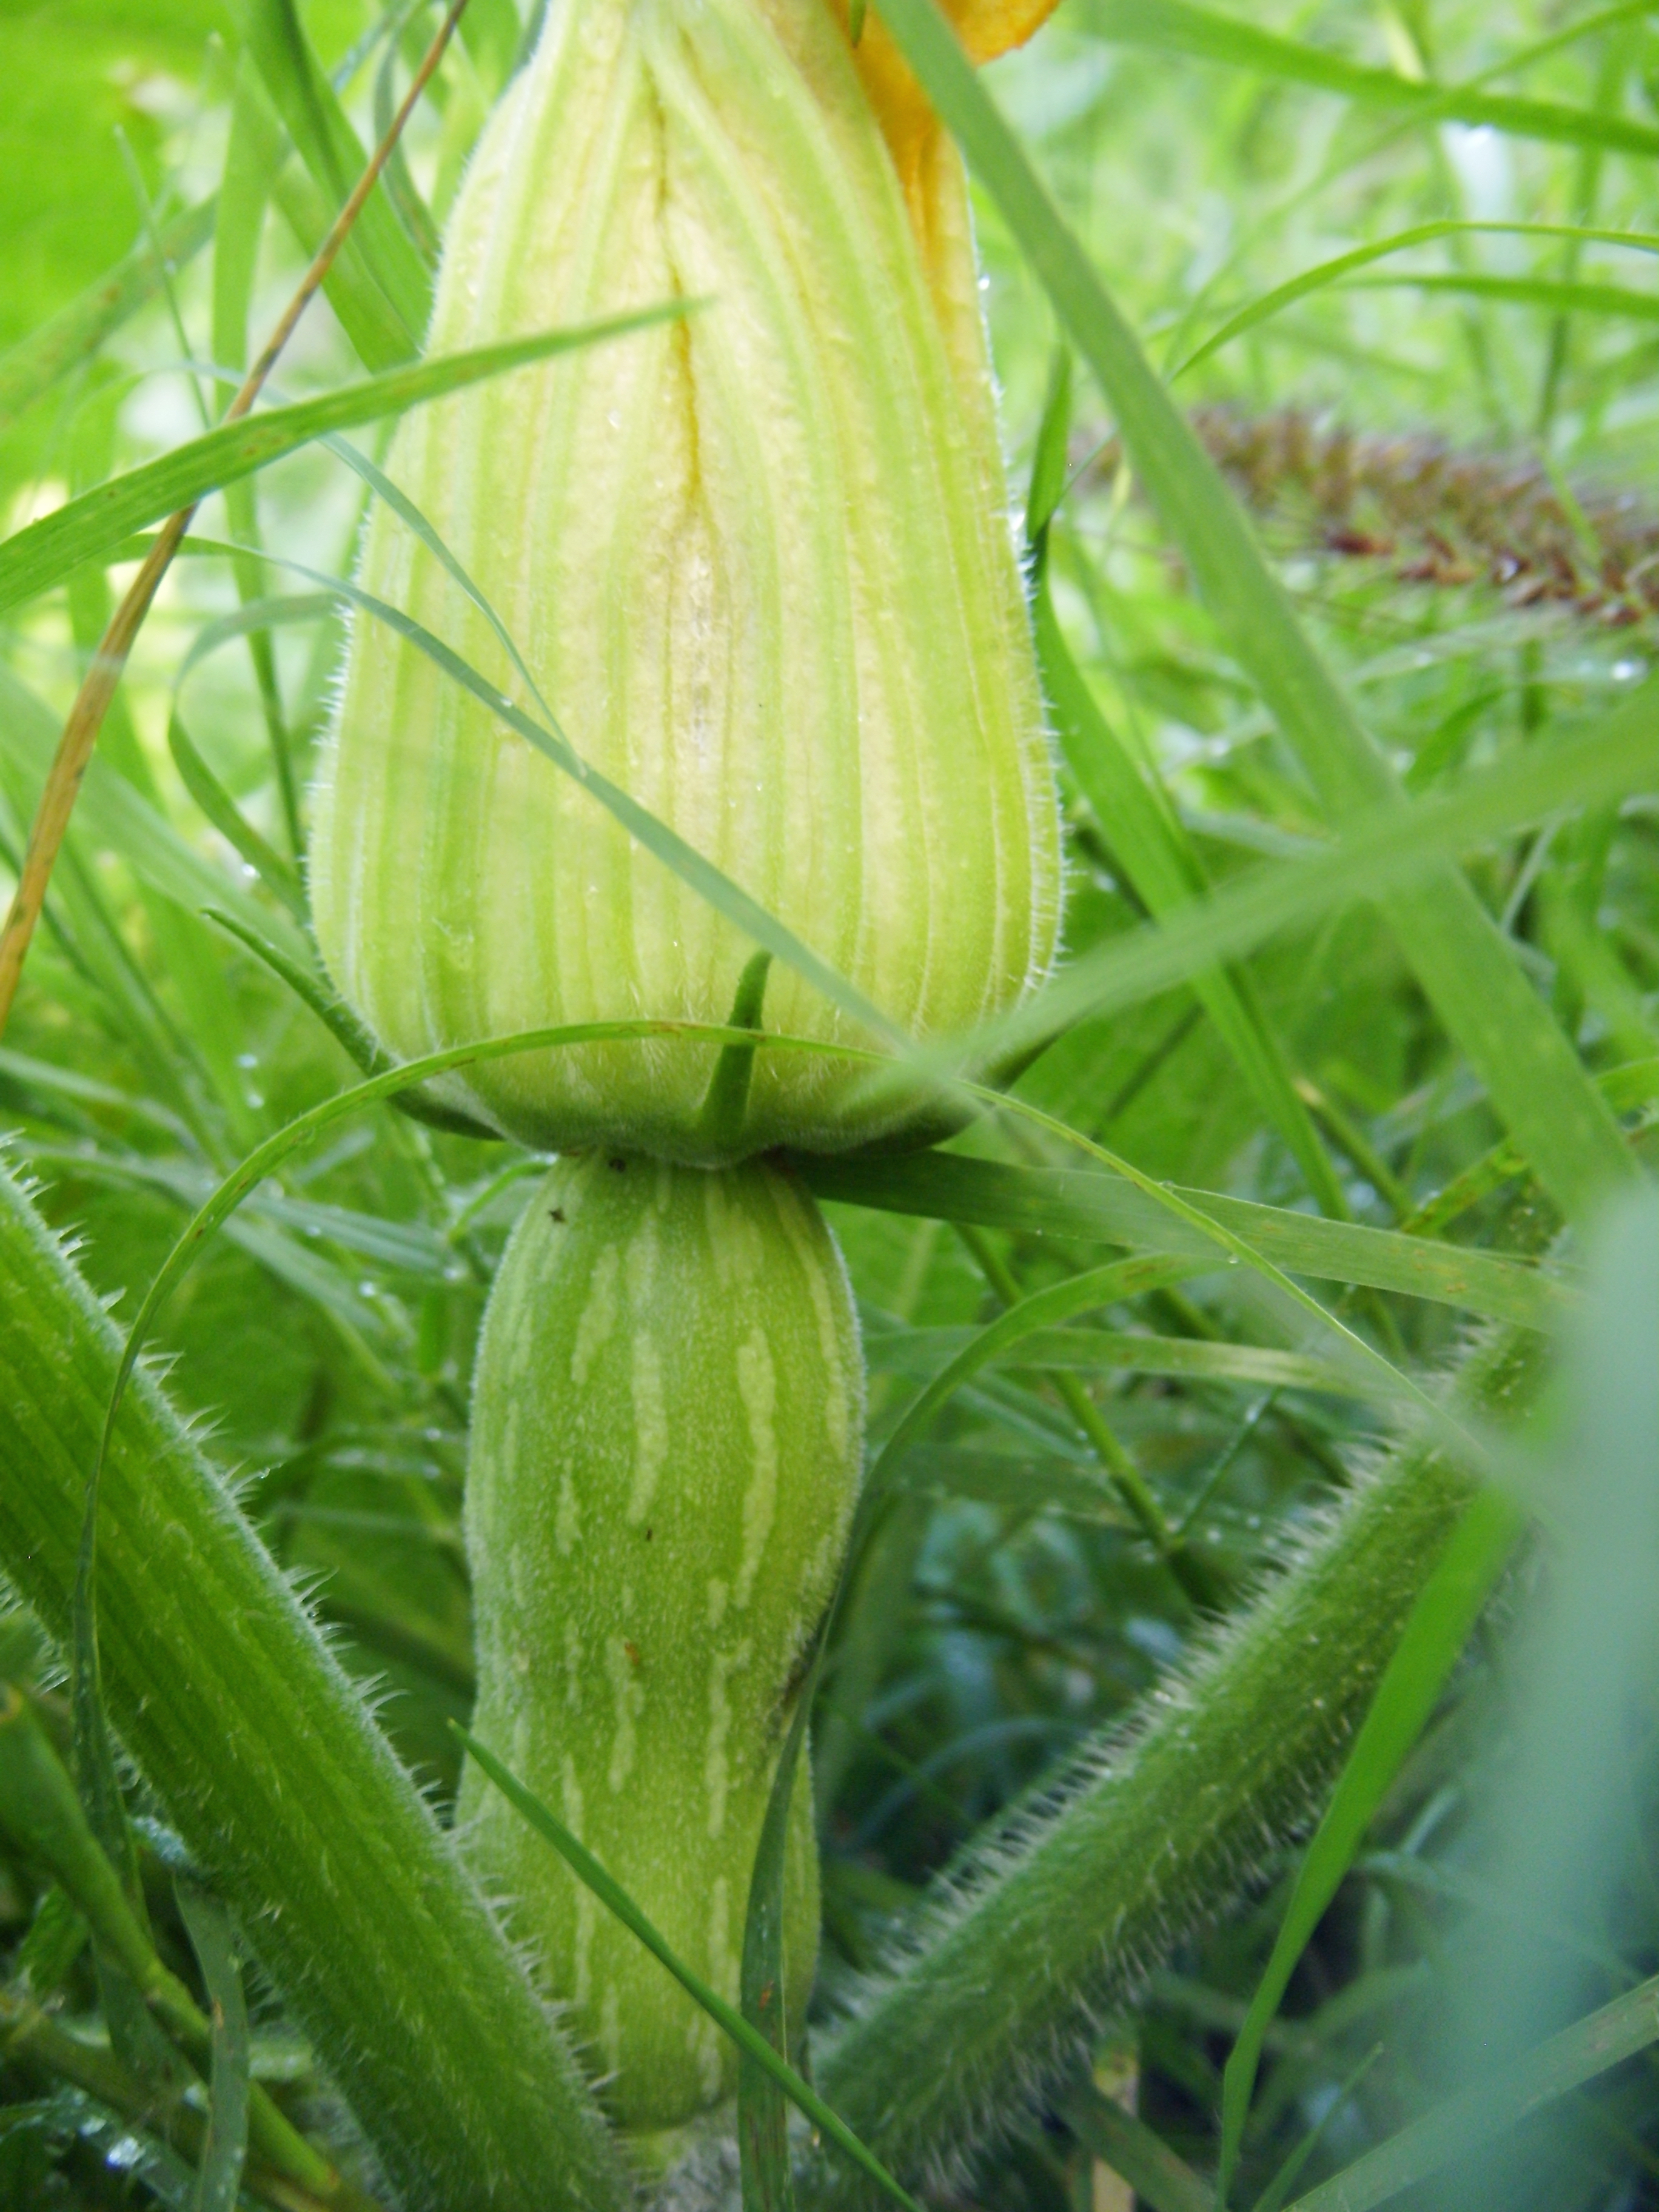
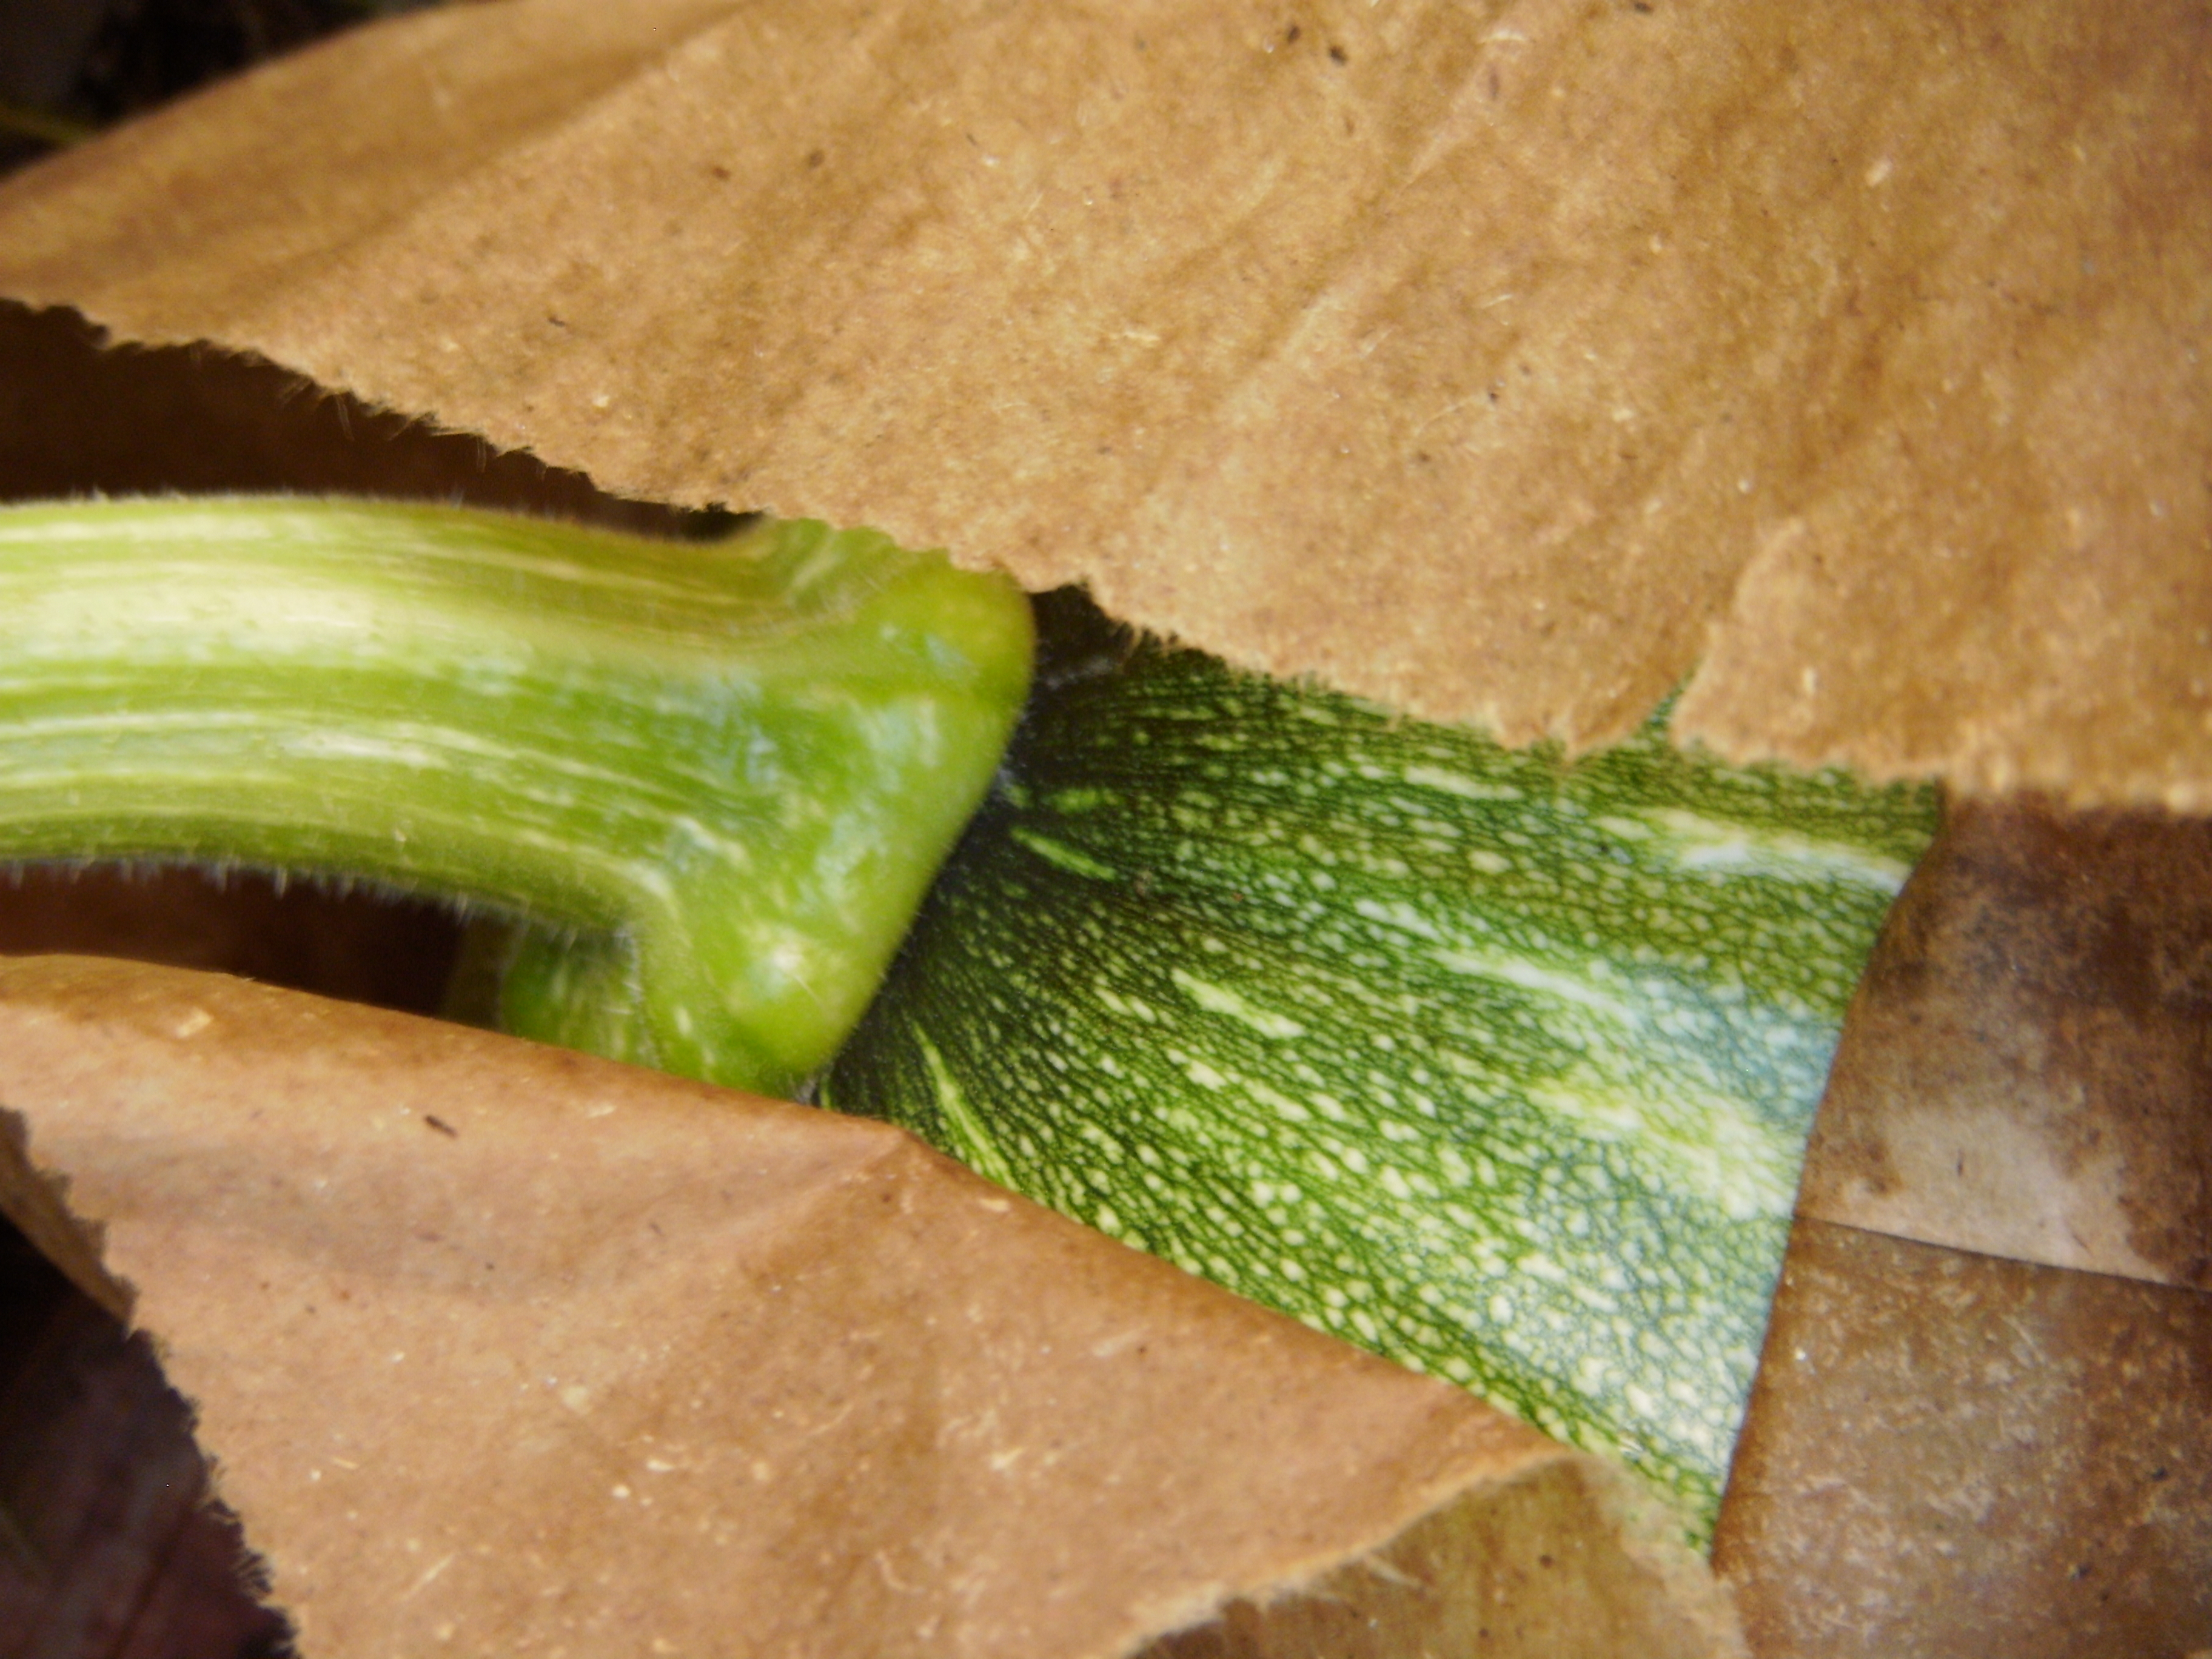
In the past few years, I have made some progress with inter planting with all kinds of things.  Squash will crawl over everything, but it will also keep on crawling.  I let the vine continue on its way and trim off the leaves that may be shading the pepper plant, or eggplant that it is crawling upon.  Now there are a lot of different kinds of growers out there, and this will not set well with some, but for those with a small space, permaculture bent to them, this is for you. Before we go on, just note that squash produce their fruits on the ends of their outstretched vines.  If you cut off these critical vines, you have made a prune that is going to really set you back.  I know many lawnmower cowboys who fight me on this, but trust me cowboy, you’ve shot yourself in the foot.

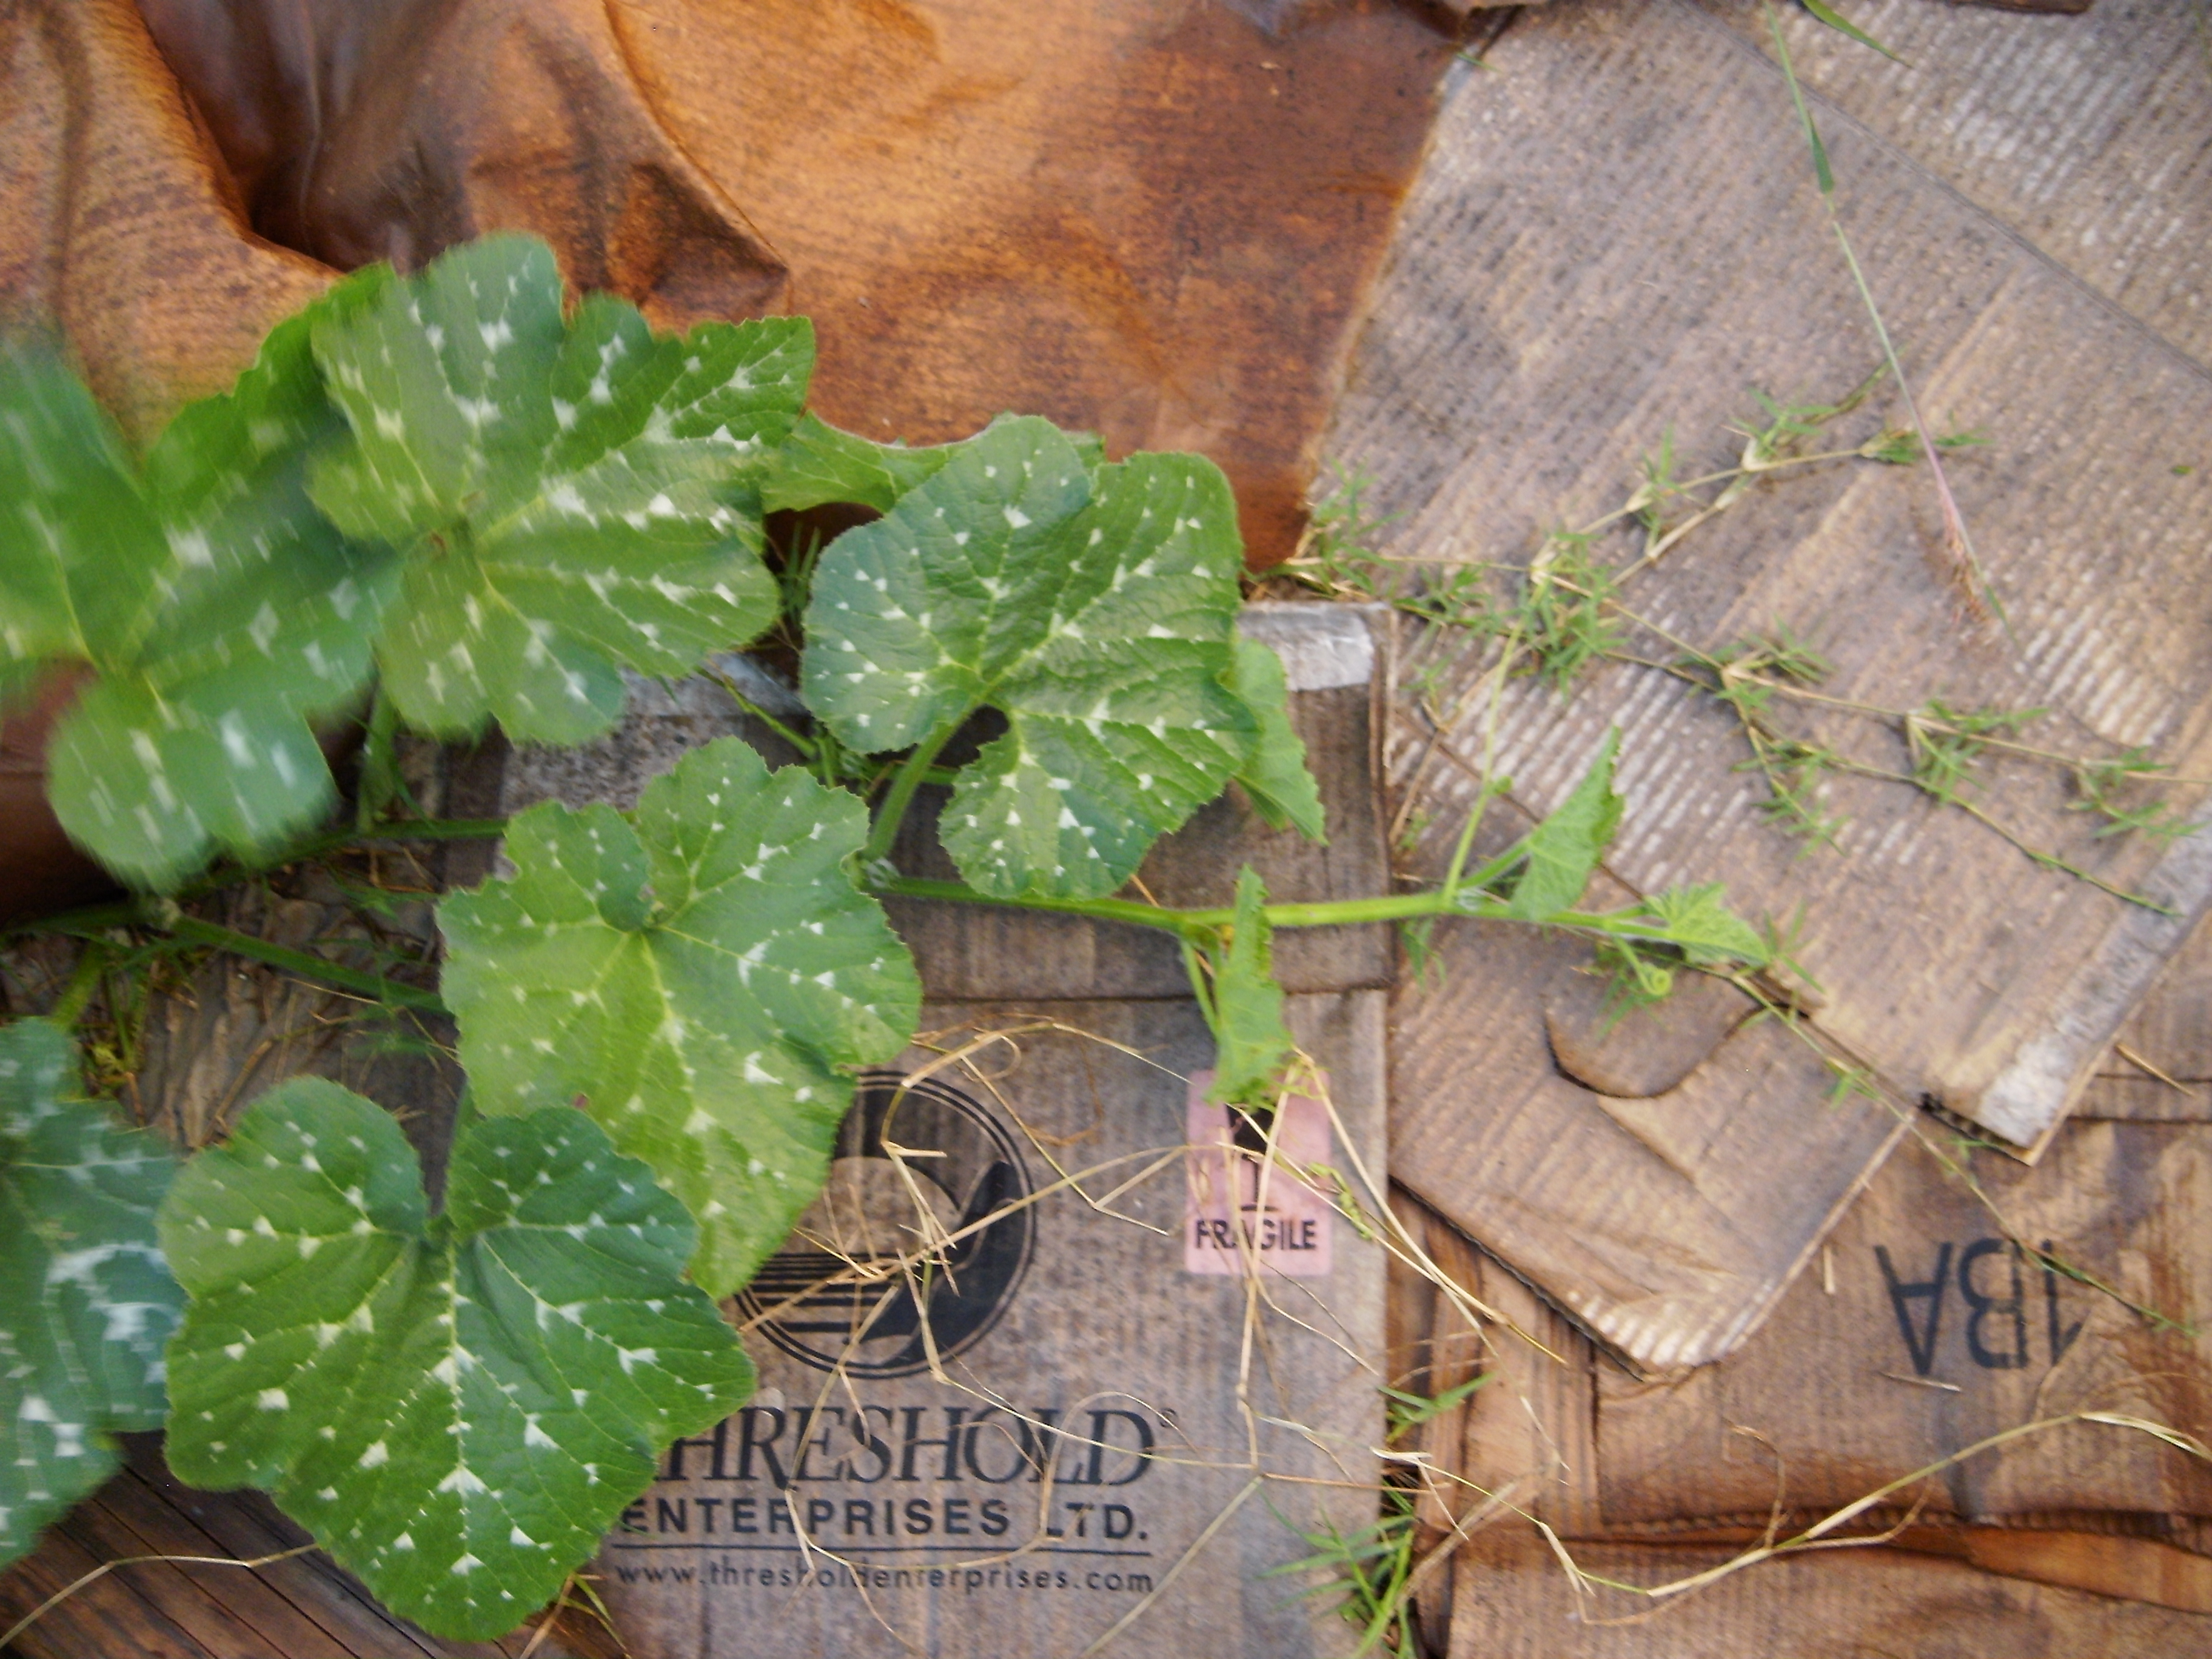
Here are a couple of photos from my home gardening experiments.  Today, I added additional pieces of bamboo this way and that, so  to create a strong enough trellis for chayote/pipinola to smother.  I crossed the bamboo and tied with wire.  Two untreated shipping pallets can be seen in there as the base, and heavy pieces of bamboo get threaded into the sides of the pallet to create planes where the upwardly mobile vines can go.  At the base, also you will find Winter squash, and Christmas lima beans planted.  It doesn’t really matter who grows on what.  All three are vines, all three are valued plants in the garden.

This garden is now overly shaded from the banana trees, so my focus is now the narrow windows of sunlight.  These climbers are now at a point where they are up and out of much of the shade.  This “living wall” serves several purposes, most importantly, it lessens the wind tunnel effect of this corridor garden. I also like the fact that it becomes a vertical place of interest as well.  But equally important to me, is that it is a home for the Jackson chameleon family and their newborns.  I care about such things, and I realize that many do not, but for me, leaving a permanent place where they can be fairly undisturbed has brightened many a day.  Tonight, alpha male “Zig Zag” eagerly climbed the tallest of the new bamboo stakes before disappearing for the night.

Ever watchful, they seem to be aware of who is looking out for them by building gardens with trellises to climb.  These East African chameleons are a highlight to my day. They too are great climbers, but get themselves down to the ground to eat snails and slugs.  They are territorial by nature, so if they like a spot, they will remain there and have their family there.  I have been blessed with seeing them in all ages, from those only a few days old, to full grown.  I have treated them for injuries and dehydration when needed, and I have learned so much about them in the process.

On the flipside of this wall, I have created a mini garden that gets a lot more sun.  In December, I transplanted the leggy seedlings, as well as the aging, may not germinate seed, and got this! A lovely mix of all the things I love.  A little bit of everything planted quite closely together.  So close, that I have to be really proactive with the fish fertilizer, as in, fertilize tomorrow because these plants are beginning to fruit.

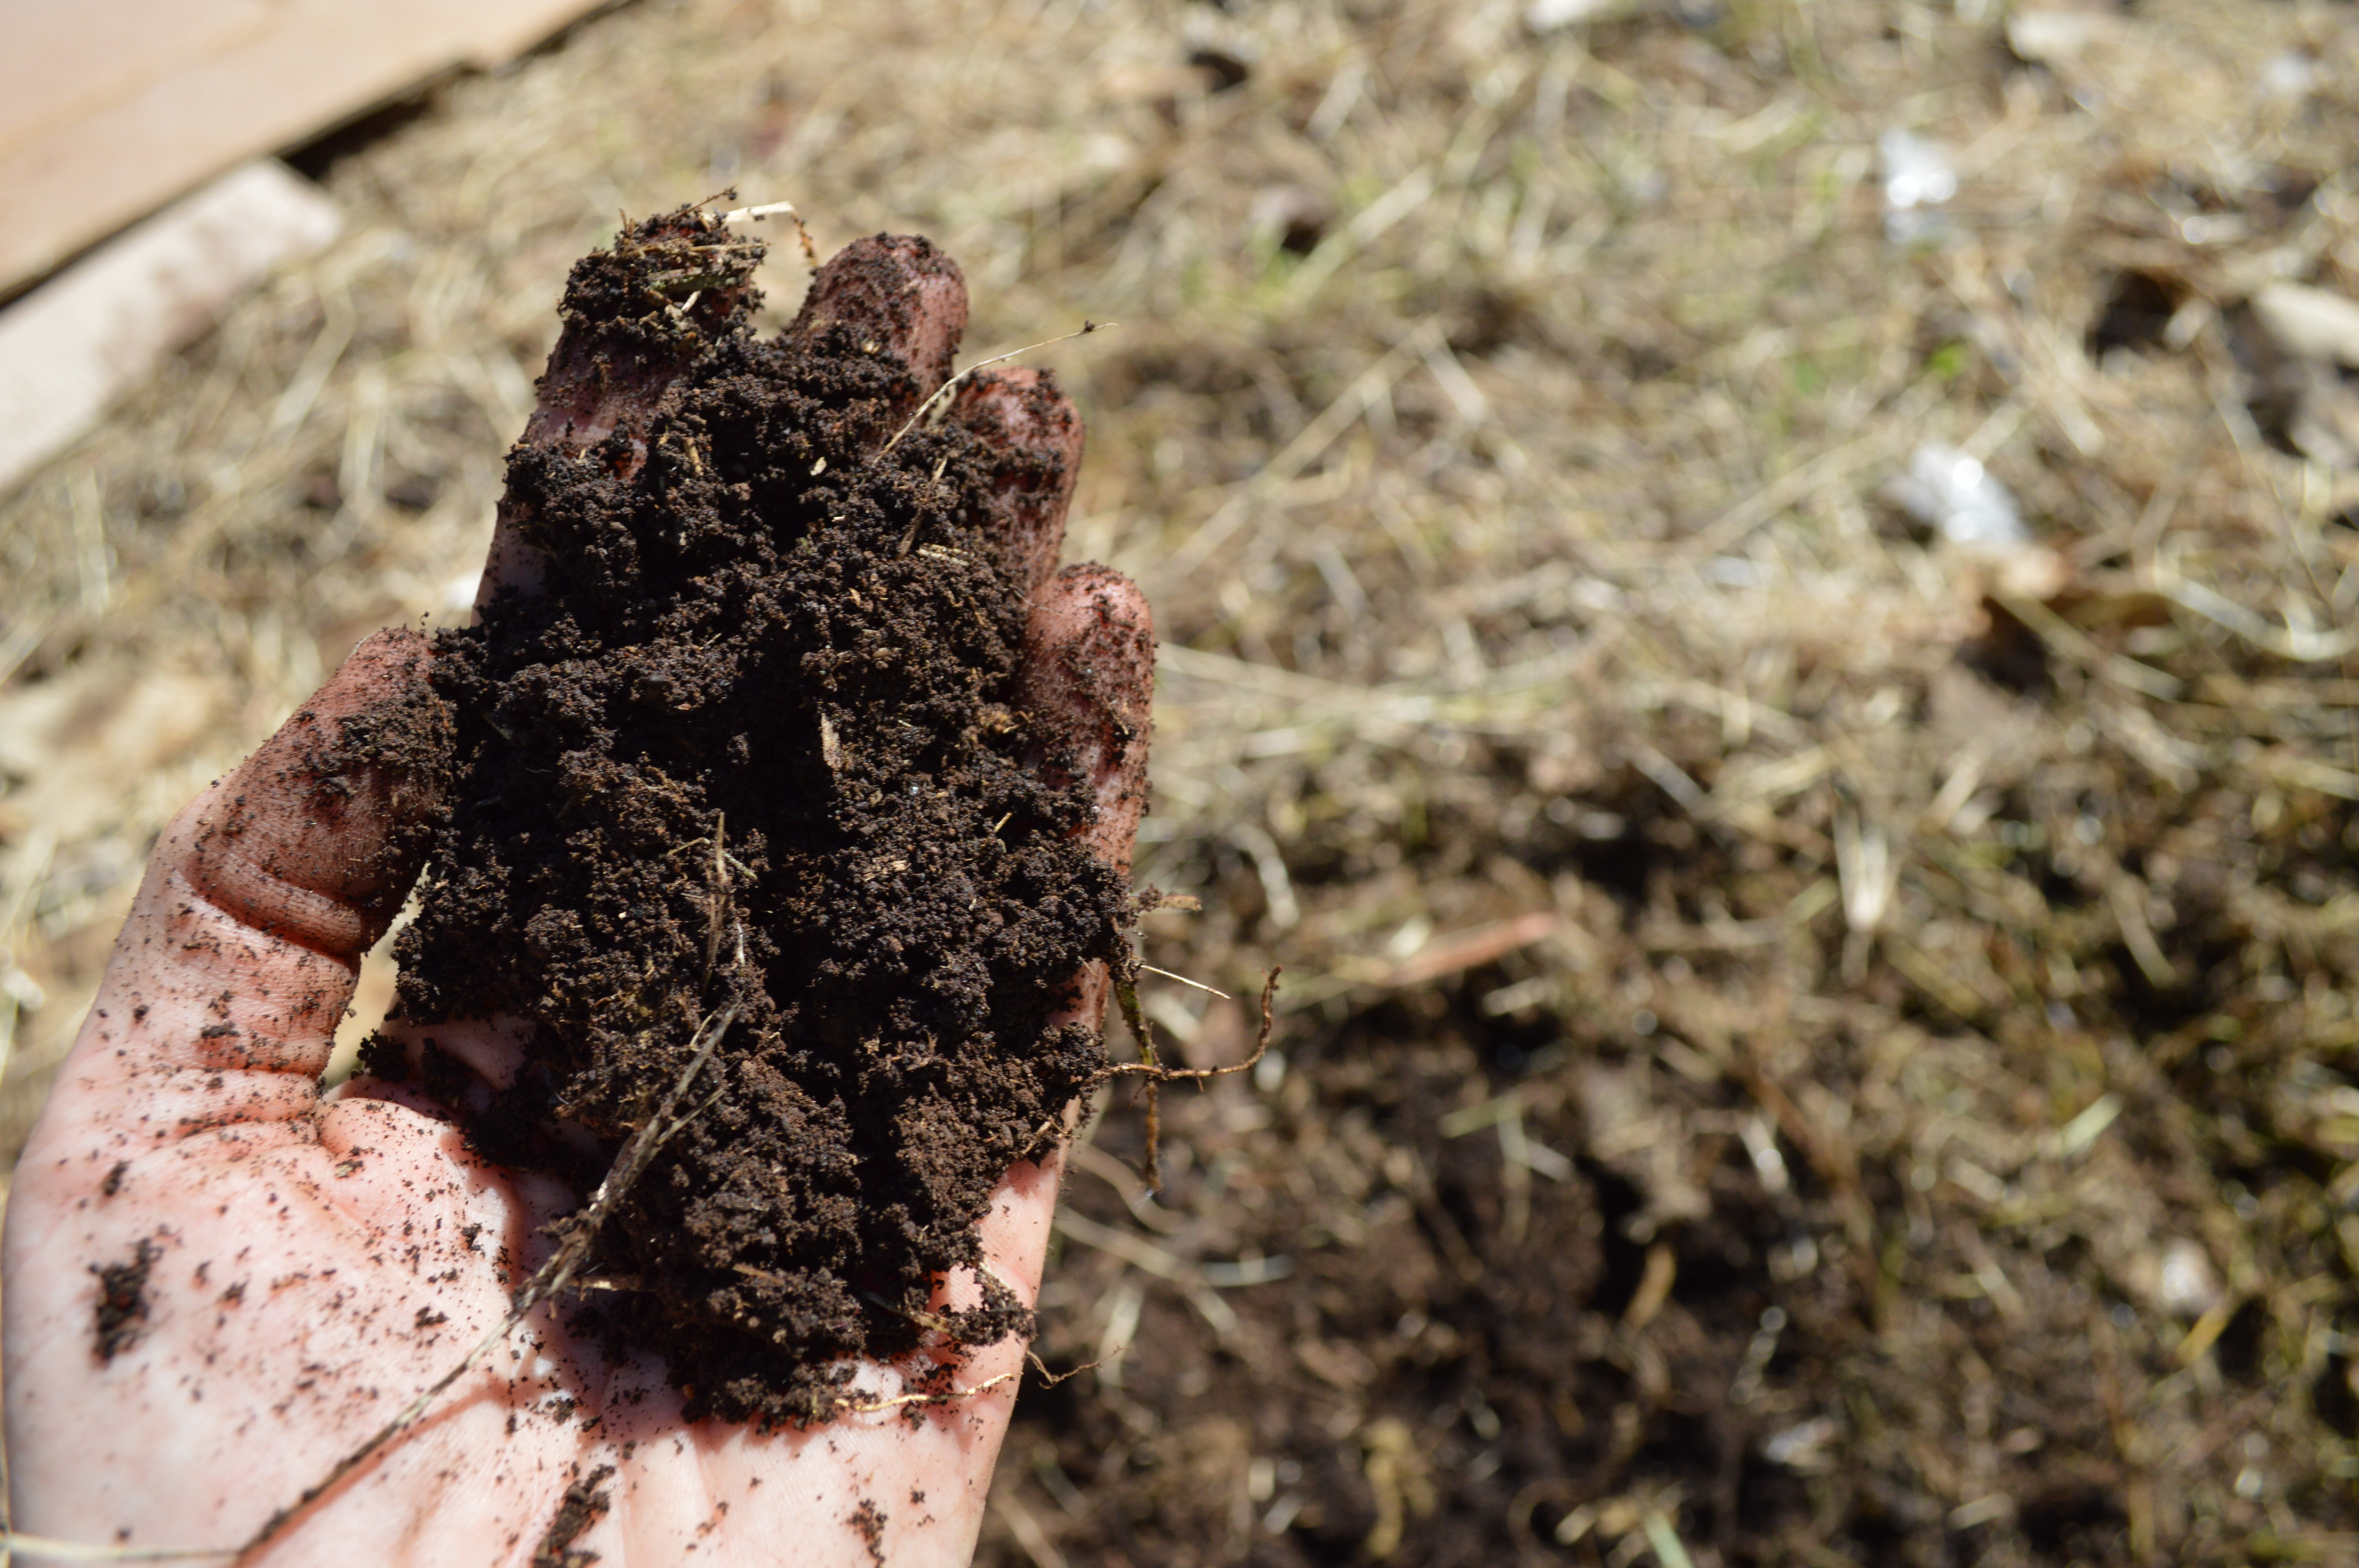
I should also mention that banana stumps create the border for what is a very shallow raised bed garden that is at the base of this climber trellis.  The nutrients of these bananas stumps will continue to seep out, and eventually, they will breakdown in place.  A new stump can be piled on top, and continue the cycle.  I’ve found these to be excellent cool places for worms to have their offspring.  All of these reclaimed things were free to use in the garden.

Hawaii’s seasons come and go in such a way, that you can keep some plants going for quite a long time.  Some peppers and eggplants last over 2 years with proper care.  They do not fruit year round, nor do they have the enormous yields like they do in many parts of the country, but they can be fixtures to count on and plan around.  Lima beans need a very long season, as do so many of the Winter squash that do well in Hawaii. So think ahead, and plan on those plants to be in the same spot for 6 months or more.  If you think ahead, and leave them alone as they grow, you may find that you like the look of sprawling vines after all, especially after eating the bounty of the season.

Farm Clean up: the no-till way

In the frantic days before I leave for California, I needed to put some serious order into the farm. I will be going to help harvest the Baker Creek pumpkin seed trails,  and just a couple weeks later, I will be giving my speech at the National Heirloom Expo.  The excitement is building, because one of my very own farm pumpkins is a part of the trials.  I’ve worked hard so to stabilize the variety.  I am hoping that when I get there, it will be shining in the sun, and offering resistance to the drought there.  But for now, I need to focus on getting my own crop in order.  Pumpkin growers frequently count the days when you need to hit your harvest right on schedule for October, and we in tropical and subtropical places need to look 120 days out, and sometimes more.

Hawaii’s high season also creeping closer, where the demand doubles. So,  it is simply now or never.  This year is a big soil building year, as well as planting all new pumpkin vines.  It has been a long summer with quite unexpected weather patterns.  We had Winter-like weather for weeks, including flooding, and now it is like Summer again.  Adaptability is the name of the game.

The soil strategy is working.  I have brought in several tons of hops, mixed them with wood chips from the farm, then piled them on top on salvaged cardboard.  The trick is to turn the piles, carefully, letting them air out in all this heavy rain.  For those of you just tuning in.  In the farmlots, we got several days of flooding after 17 years of drought.  Quite a change, but not entirely a surprise.  Why?  The drought/flood cycle goes together, like it or not.  You cannot change the weather, but you can change your soil’s ability to adapt to changing weather.  Adding soil structure through organic mulch materials, and valuable nutrients both help.  This improvement to soil health also encourages the earthworm, and microbes…and on we go.

People are often overly concerned about how no-till looks, but really, it doesn’t matter how it looks, what matters is how is responds to the needs of your plants.  We need to get over our thinking that everything needs to be in tidy rows, with nice big parched earthen walkways between.  We are in a drought, and there is a lot more drought coming our way.  By planting very close in super homemade soil, the healthy plants adapt and even help one another.  I seed select only from varieties that are naturally resistant to powdery mildew (a huge problem in Hawaii) and then I can just let the vines sprawl, without worrying about close planted plants and powdery mildew.  What people usually do not see, but you can in these images, is the under story of the mulch.  Ever wonder why I have giant green squash leaves the size of platters?  It is because I have created a natural fertilizer system on which they grow.  When water hits a vine, it encourages it to re-root where the vine touches the soil, or in this case, where the vine touches the nutrient mulch.  I can encourage growth by burying the vine, (like giant pumpkin growers do) and encouraging more roots to form and uptake more nutrients.  This system is why I get so many tons out of a tiny parcel.  A squash plant often produces 2-3 pumpkins, mine may produce 10 times that, because I feed and prune and feed some more.  They are spoiled with love.

Here is a look at the mulch before the vines cover the lot.  The system is as follows:  cardboard, hops and wood chips mixed, some coral sand, coffee grounds, and fermented fish (buried in holes here and there.) Throughout the season, I will feed again with homemade fish emulsion, and top dress with more coffee grounds.  Then too, I will add some EM-1 soil microbes fermented in grain to the field.  Most of soil making is being done below those sprawling vines.  Compost materials are the mulch.  Soil is the solution.

the farm in year 3

For the Love of Hops

The Beer Garden is the nickname of my small farm parcel.  On April 1, 2013 (April Fools Day) I began to soil build.  When you know that you are growing a hungry crop, you know that you need to build your nutrients in as part of the plan.  So from day 1, spent hops from the award winning Big Island Brewhaus were used to amend the soil.  I am doing no-till, so the hops are dug into the growing piles.  Much like a 1/4 acre compost heap, it takes some attention and care to see that the soil stays healthy and that your microbes and worms can thrive.  People laugh when I say that it is a huge effort to “turn” a 1/4 acre.  Remember that each time I turn the farm, my zero-waste principles are at play.  Sure, it is easier to rip up plastic ground cloth, roll it into a ball, and drop it into our landfills, then they over till, and spray. That is one strategy, where you may save time there, but in the big picture, you are not saving anything. I do the opposite of that.  Each foot will either have a plant growing there, or will be used as a re-rooting place where vines will be buried under the homemade soil and get another hit of nutrients.

Yes, the other method can be done in a day, but your soil is on borrowed time, while mine is surging forward.  My labor of hauling and lifting create a nice, rich soil that holds water.  In a drought…that is worth gold.  So think before we discard.  Make connections with these local businesses who would like to help their farmers.  Yes “their” farmers.  Farmers belong to the community in the best possible way.

Here is a video where I explain a bit more about amending with fermented fish and brewery waste

I always do the warning about hops and dogs…they are poisonous to dogs, so watch your pet.  Many dogs have zero interest, but be cautious.

The image says it all.  The additions have changed the soil dramatically.
The image says it all. The additions have changed the soil dramatically.

So think about how you can make super soil.  This farm is small, but my soil is mighty.  Be a steward, and you will be rewarded with a bountiful harvest, reduced pests, and you will be a hero to the kindergartners…and who doesn’t want that?

No-till Seasonal Rotation

It was challenging to time my rotation this Spring.  I had waited and waited and tried to coax out every pumpkin I could get.  Then when the production made a swift drop, I went with a hunch and climbed up on the tractor to mow the vines and the grass. There is a point, that even after pruning, and amending the squash plants, where their production levels take a severe drop.  For me this came just short of year #2 when the well tended vines were about 21 months old.  I watched daily for male blooms, but when even their numbers were down, I made the drastic cuts and rebuilding that I will be rewarded for later this Summer.

The no-till patch is created in a clock like pattern of raised mounds of homemade soil.  The mounds were constructed from brewery waste hops, horse manure, mulch, coconut fiber, and fish emulsion created in April of 2013.  The images show the following: The mowed field grass dried in the sun, checking the farm made soil mounds for quality, new cardboard was sheet mulched into the center of the “clock like” growing patch. This card board builds soil, retains water, and will give the worms a great place to thrive.  I started to wet the cardboard with the overhead, then the rains came, which was very good luck. Next image is of roughly 1/2 of the clock patch being mowed and altered to a time.  I have weekly orders to fill, so I must leave as many active plants going as possible, while I begin the new plants.  Weather can be very up and down this time of year (hot days quickly turn to cold horizontal rains like today) Growth can be sluggish for the vines that like normal summer type days.  Next image, I am pulling back the cut grass to show the growing mounds that became lost in a sea of vines and creeping grass.  These mounds will be weeded, amended with farm made fish emulsion, then surrounded by cardboard as in the circle center.  Then I will replant with a variety of heirloom squash, some tomatillos and okra…maybe some eggplants…

It felt risky to chop any vine that was producing, but I know as those new productive vines sprawl in a couple of months, I will be sitting back in my chair, sipping a lime aid, thinking that this was exactly what needed to be done.

 DSC_0108 DSC_0107 DSC_0106 DSC_0103 DSC_0102 DSC_0098

Building Worm Paradise in Hawaii

Being raised on a Wisconsin farm may have given me rather high expectations for soil. Our humble 40 acre farm had deep, rich, black soil that you could sink your arm into, well past your elbow. That was considered “below average soil,” and that is where my false soil illusions began.

My brother and I would hunt night crawlers and all kinds of earthworms for Summer trout fishing. It was rarely much of a challenge to fill a bucket in a few minutes. The biggest challenge was to dig without severing the multitudes of them that squirmed below our shovels. We often abandoned the tools so to dig with our hands. We also wanted our worms to be happy and content in their last hours before they became trout bait. So sever we would not.

Fast forward over three decades and several thousand miles and land me in the Hawaiian islands where you would again find me digging in the dirt in search for worms. The result was quite different, because day after day, I found none. Not a single worm. This was a discouraging discovery that I needed to resolve, because if there were no worms, there would be no farm.

Industrial agriculture, wind erosion, lack of cover crops, multi year drought, years of nutrient depleting sun, and lack of organic materials, are things to consider when beginning a transition plan for a parcel. Though this area was prized for being some of the richest soil in Hawaii, that estimate took into account only soil type, and left nothing to be said for soil treatment.

The summary was easy: there was nothing to temp a worm to take up residence, and every other action on the farm was contingent upon this cornerstone of soil health.

The solution was equally clear: create a worm paradise.

If key players like worms were missing, that was a good indicator that other members of the soil building chain, like soil microbes, were also in short supply. I decided to focus my attention on the actions of one person, and develop a farm plan based around a worm’s favorite location: the compost heap. Creating a farm that was comprised of an organized pattern of composting heaps that would be piled on top of existing soil. The squash crop to be would be planted directly into the decomposing heaps, benefitting by the heavy food source available. The worms would be able to pull nutrients from this moisture and food rich pile, and bring the nutrients deep into the depleted soil.

No-till was an easy choice for methods, because a decade long drought and wind erosion had left little to till. No-till gardening techniques were expanded to a 1/4 acre scale. Between garden and farm in proportion and methodology, this framework would conserve moisture, encourage microbes, worms, and stifle weeds.

three sisters method of beans, corn, and squash, surrounded by reclaimed cardboard.  Soil building and moisture holding cardboard also minimizes weeds
three sisters method of beans, corn, and squash, surrounded by reclaimed cardboard. Soil building and moisture holding cardboard also minimizes weeds

Cardboard created a zero waste solution, along with growing blocks reclaimed from the local hydroponics farm. Together, the cardboard, and both basalt and coconut coir growing blocks would create a moisture holding, shady mulch where worms could hide and soil would form. As pumpkins were harvested, some would be chopped into chunks and buried face down in the mulch. This created “worm buffets” that were also cool hiding places where worms could gorge and reproduce.

The image says it all.  The additions have changed the soil dramatically.
The image says it all. The additions have changed the soil dramatically.

Now a year later, the soil is several inches deep of sweet smelling soil. Just like the days of my childhood, I often dig with my hands so not to risk severing any of the welcome guests that will not become trout bait. An “intensive soil care” initiative was the first move for the farm, and the efforts have surprised even the most hardened of soil scientists. Now reconditioned into a healthy soil system, EM-1, homemade fish emulsion, and coffee grounds are the additions made to the area.
OLYMPUS DIGITAL CAMERA

OLYMPUS DIGITAL CAMERA

Vines now tumble and interlock with each other, birds, bees, and butterflies circle overhead. Mushrooms show themselves and again disappear into the cycle. The purple worms surface and dip through the paradise that was both created for them, and one that they helped to create. Several tons of food has been gathered from a small, once dusty parcel, giving hope to one more farmer who has spent their first year farming new soil.

The mini-farm at 10 months old