Category Archives: Farming

Harvesting tips for the tropics

Farming pumpkins is a test of your patience, and part of that means leaving them on the vine longer than you may want to. They reward you with a bounty of tasty fruits that will store through the Winter without refrigeration. If you have properly fed and watered them, done your best to select the right varieties, and counteracted pests, they will thrive will a lot less care than more vulnerable edible plants. With squash, you do much of the work upfront, and then let them go.

One of the problems that growers face is this “hang time” where the vines, blooms, and fruits are vulnerable to anything from feral pigs, rodents, falling branches, floods, windstorms, theft, and insect damage. Throw in that some varieties can also get a sunburn that creates a scorched patch on the squash that will scar the fruits in such a way that it will not store and must be eaten immediately. A lot can go wrong in a season, but a lot can also go right.

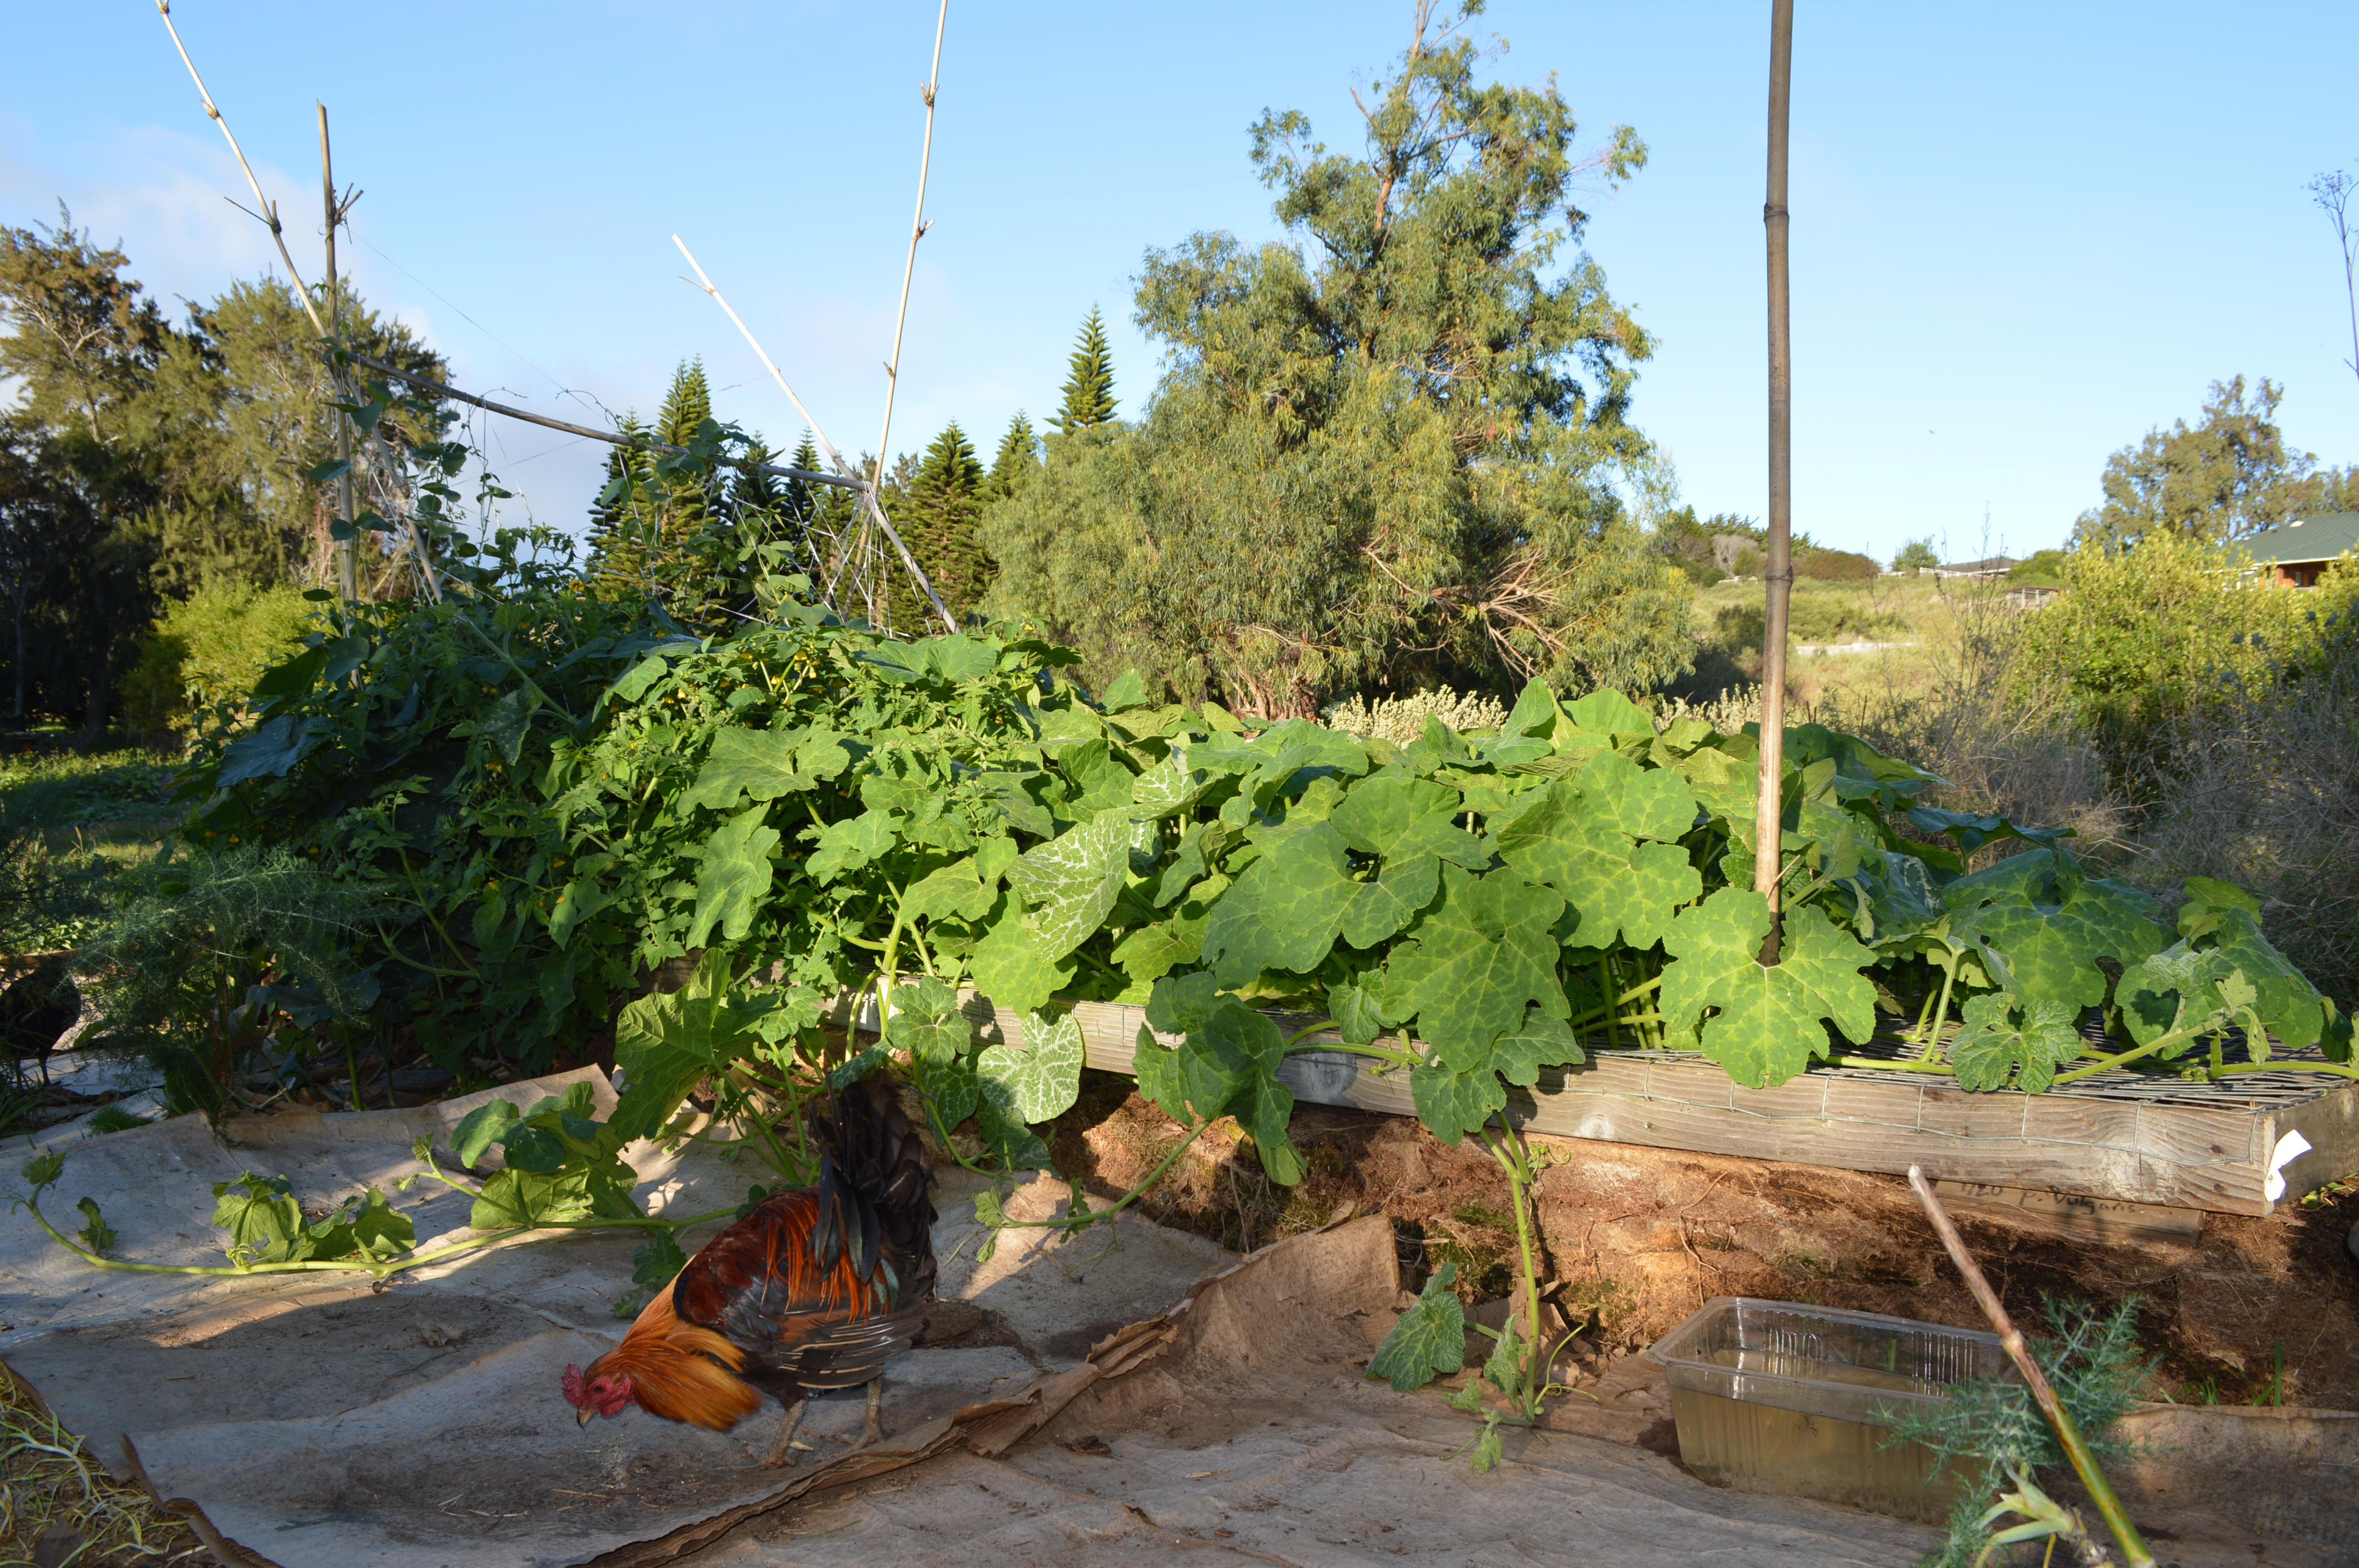
One of the ways that you can increase your success is by recognizing when to pick the squash fruits, and then explore how to cure them. In many climates, squash cure on the vine. What I mean by that is that the squash skin toughens, and the stem dries on the vine. The whole squash plant will die back, exposing pumpkins that were hidden below the once lush leaves. In Hawaii, and other tropical and sub-tropical areas, squash vines do not die back for a very long time unless you have stopped watering it or killed the roots of the plant. Leaving the question, “can I harvest them now?” on your mind.

When you grow annual squash plants that have become perennial due to climate, one of the biggest challenges is knowing when to pick. So many people pick way too soon, selecting shiny skinned fruits and then become unsatisfied with the flavor, or lack of flavor. There are traditional recipes in places like Italy and the Philippines, that call for immature fruits. If you are reading this, and have harvested your squash too young, consider those recipes as an option. If you are looking for mature, robust tasting squash, with a dense color and flavor, it is all about patience.

In Hawaii, squash takes a lot longer on the vine than in other zones. The cooling trade winds maintain temperatures that rarely rise above 80 degrees in upcountry and upper 80’s in lower altitudes. For squash, this is very mild. In California, for example, we worked harvesting heirloom pumpkins in the lower 100’s; somewhere around 110 degrees. Pumpkins are durable, but as harvesters, we felt vulnerable.

When I first started harvesting the squash that I had grown in Hawaii, I did not know when to pick it. Through my research, I found an interesting bit of information from Naples, Italy. It described a technique where fruits were “cured” in the sun for 10-14 days, then moved to the shade for storage. I followed this recommendation religiously. It shocked people to learn that I had waited a full month before presenting these squash to chefs. My further experiments in aging squash brought them to optional flavor. A month or sometimes two months of aging created depth of flavor, and intensified flesh color that plated beautifully. I learned this by eating squash every day, cutting open both perfect, and damaged squash to study what is going on inside, and topping that off with reading online.

So back about the curing. Hawaiian landrace/heirloom varieties of kabocha squash are not necessarily orange or yellow. Many are greenish black, and they will remain that way from beginning to harvest.  Try to look past the color, and more to the duration of time, and the skin appearance. A young fruit will shine with a glossy glow. Think of the Summer zucchini in the markets. If you take your thumbnail, and gently press, you can easily make an indent in the skin. You want to utilize this strategy when you first begin harvesting squash in Hawaii or other tropical zones. Some simple rules are that shiny, skin that you can indent with your nail means it is too soon to harvest.

What you will be looking for is a duller surface. Think paint finishes here: Glossy, semigloss, and matte. Make sure not to harvest at the glossy stage and focus on the other two stages. When you do harvest, do not break off the stems. Leave a couple inches of stem to dry on the pumpkin. This is like a “piko” or belly button for the pumpkin. Many of the squash that do not store properly were inadvertently damaged by the grower by removing the stem, which makes them vulnerable to an interior rot in tropical places. This is quite true in tropical and subtropical places, and more flexible in places where squash cure in the field. In general, I recommend leaving a couple inches of stem, let it dry, then once dry, you can clip it further before selling the produce.

After harvesting the squash, try moving them to a sunny, but protected table or part of the field where they can sit in the sun for 10-14 days. This toughens the skin and dries the stem. Then move them to a shady spot, or a storage shed with good air circulation. I found storing them in bushel baskets was not ideal for long term storage, but good for a couple of weeks if kept dry with good air circulation. Old tables under ironwood trees were my “go to.” In wet weather, you want to make sure to check on them, roll them around and check for any soft spots, or “wounds.” Eat any damaged ones as quickly as possible, as they will not be able to be stored for as long. It goes without saying that there are a multitude of types of damage that the skins can suffer. Time and experience will teach you which ones will store, and what types of damage causes internal rot in squash.

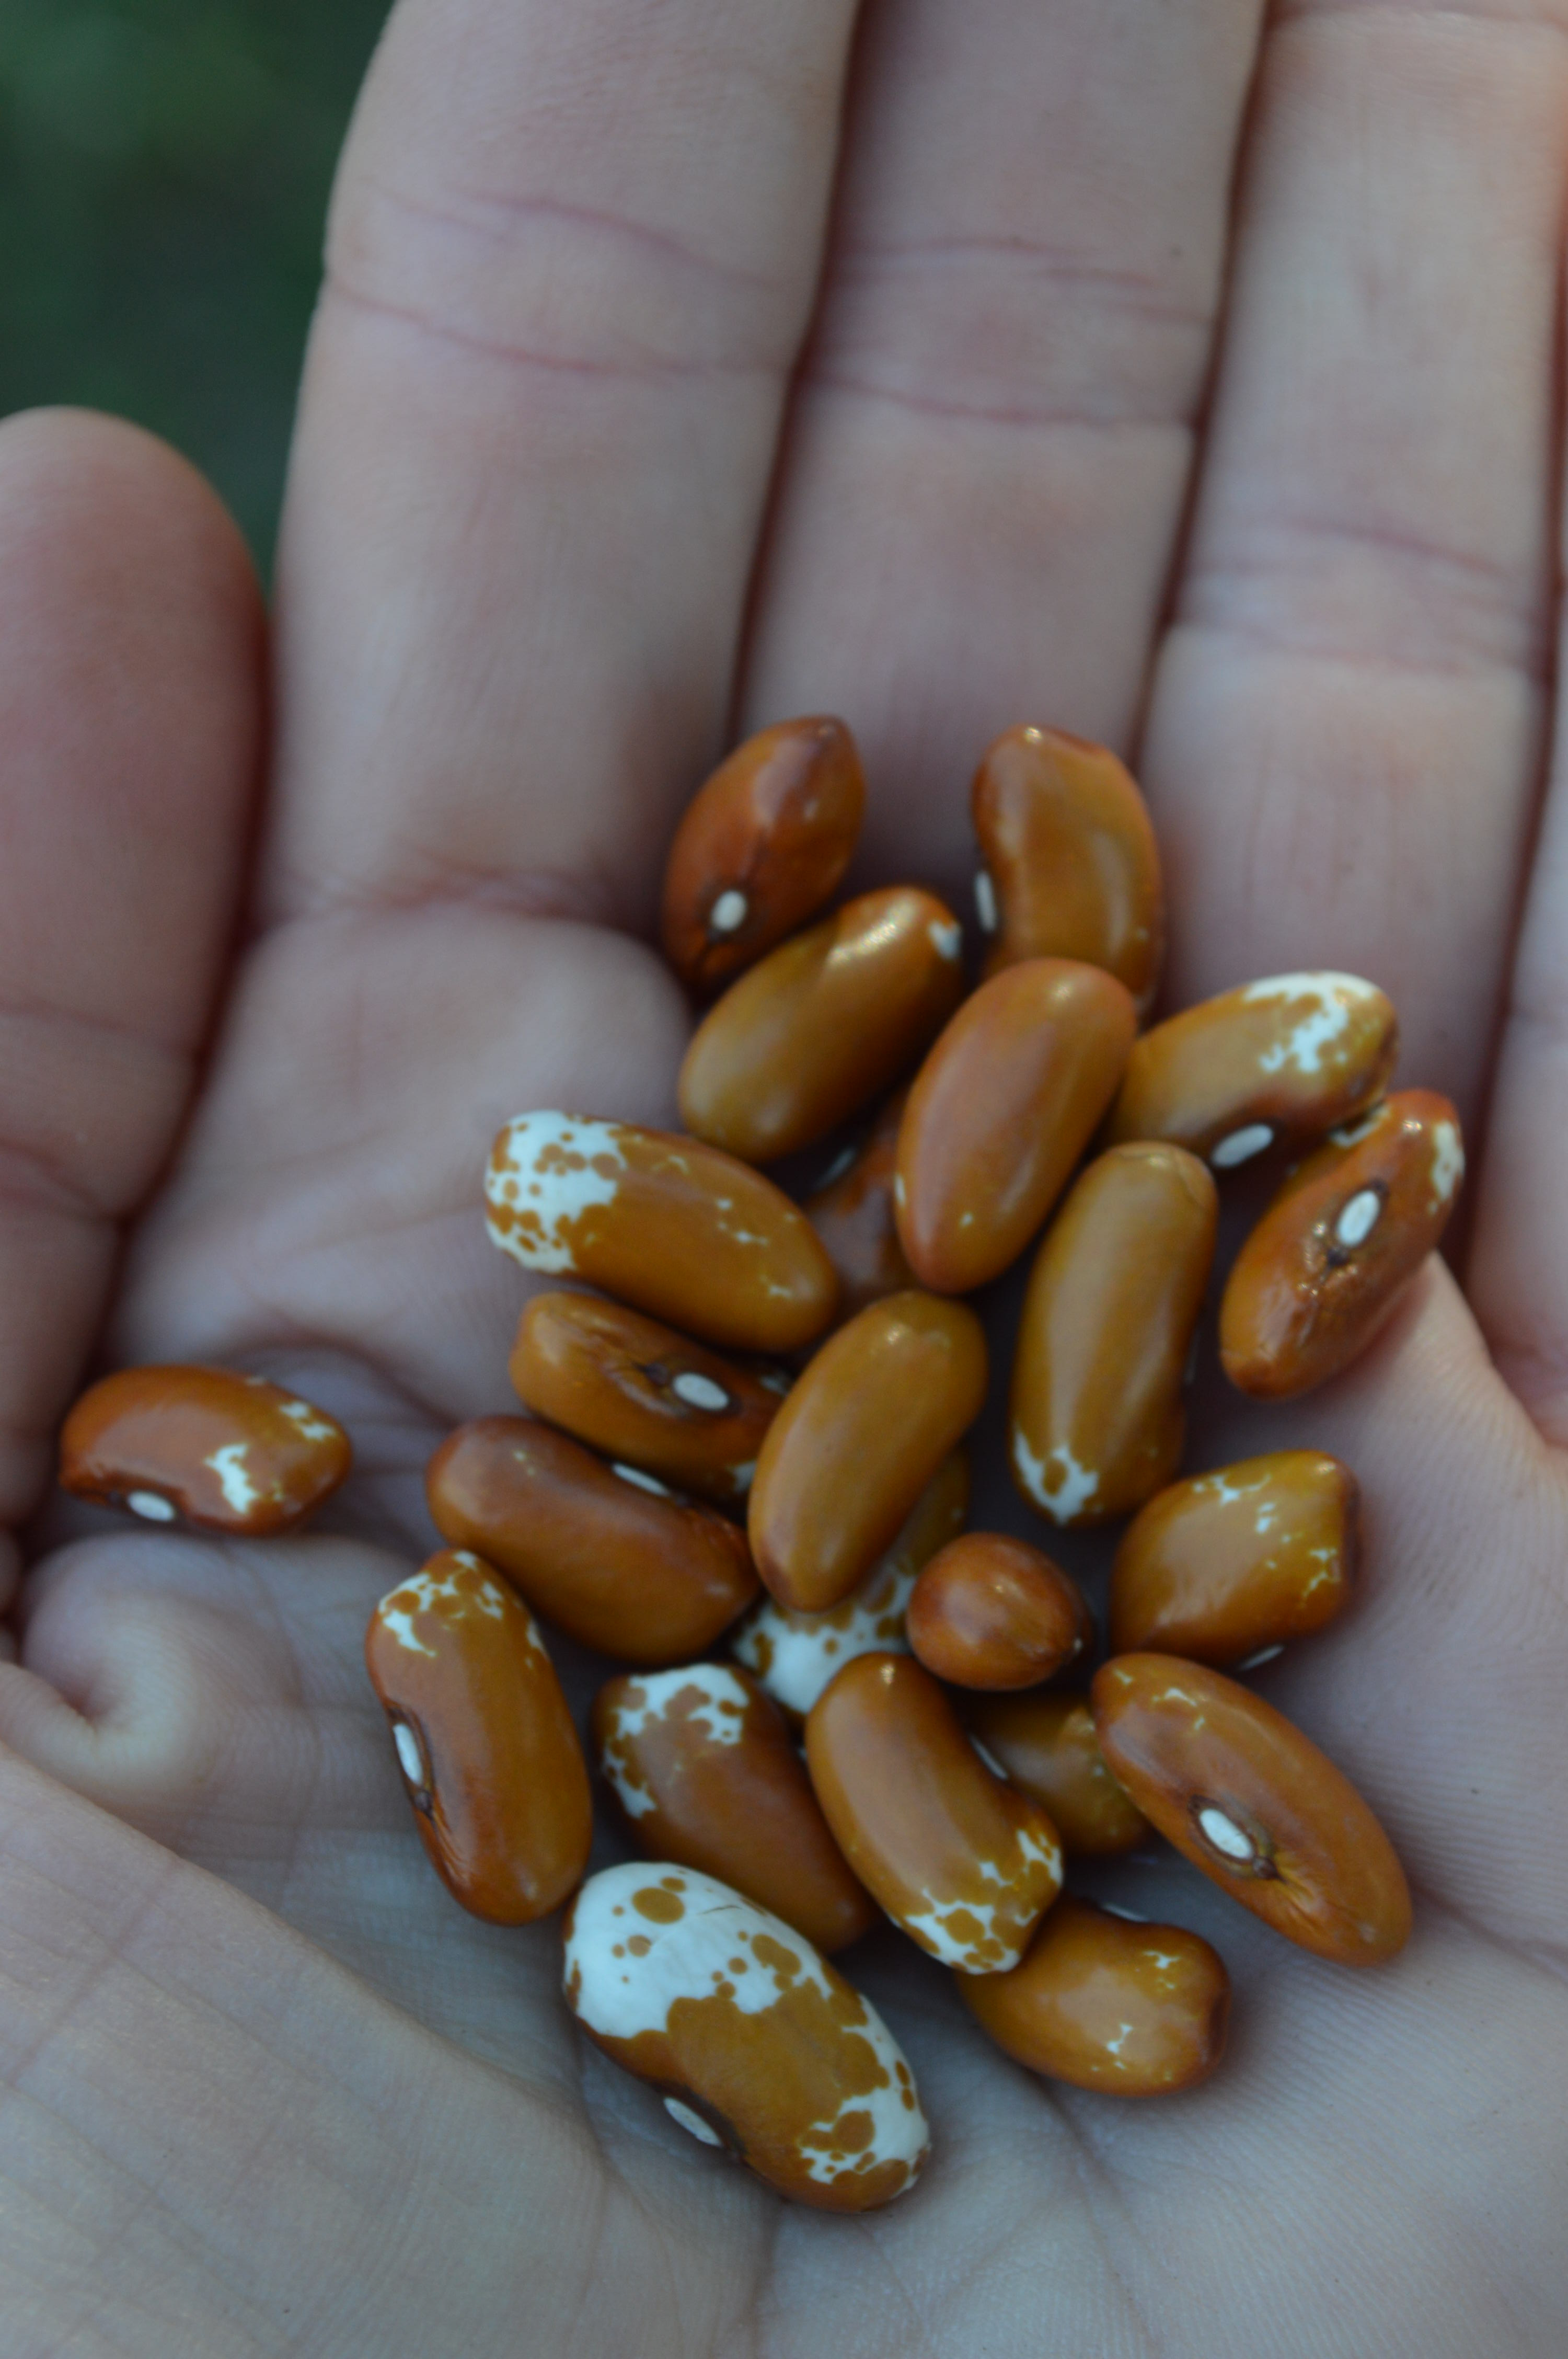
Knowing what you grow is key with squash. Some are closer to either the melon or gourd side of the family tree. They look different, taste different, and have different possibilities for use in the kitchen. I remember the squash Sibley (Pike’s Peak) C. Maxima was a real surprise. Presenting with a golden yellow flesh, and melon like perfume that intensified if left for a month after harvest. Know it, live it, and breathe it, and make note of your findings. These unusual heirloom varieties can be marketed with great success if you understand through firsthand usage, just what makes it special, and how to bring it to its optimal flavor, and color.

A field of Yellow

Yellow flowered plants will help in your squash patch. It’s that simple. For my very first year of farming, I had no bees. I was there from dawn to dusk, and never saw any. I did have ground dwelling wasps. These wasps worked longer hours than I did, and pollinated the plants. So many instructed me to kill them, but I had a different strategy, I sought to balance the environment.

I did receive one wasp sting when I pinched one under my arm while working, but these are not a deadly or overly aggressive species. I realized that the wasps had begun using my composting planting beds as a home. After taking some time to observe, I looked up videos on how to encourage the wasps to move. It was as simple as placing a large glass mixing bowl over the hole in the ground and removing the bowl a day later. I won’t go into detail about that, but it worked perfectly. They continued to pollinate, but moved their nest elsewhere. I never got stung again, and a more balanced insect population was nurtured in the following years.

I was interested in rehabilitating this parcel, as well as making my squash prolific. I knew it was time to understand bees. I had heard that there were wild honeybee colonies in Hawaii, and I hoped that there might be some in the ranching lands nearby. I learned that bees can see the color yellow, like the squash flowers themselves, but how could I help them find this isolated squash utopia? I learned that yellow was my key planting color, and also to introduce small watering holes for the beneficial insects, toads, and lizards. This was as simple as leaving shallow trays of water near the edge of the squash patch, therefore providing food, water, and habitat as the means to attract them and keep them.

I decided that I could create a beacon of yellow by planting a variety of yellow flowering plants. The beautiful Hawaiian native plant ‘Ilima’ (Scientific name: Sida fallax. Family: Malvaceae (mallow family) were nearby, so I studied how to care for them in the book Native Planters of Old Hawaii. I planted my vines around them and left these historic beautiful native plants where they were. I was careful to consider bees and beneficial bugs of all shapes and sizes. I was going to need big flowers (squash,) small flowers (mustard both wild and domestic, tomatillo,) tall flowers (Lemon Queen sunflowers,) beneficial flowering plants (nitrogen producing pigeon pea,) and a tall heirloom variety of marigold) and of course native flowering plants (Ilima.) Together they became a glowing beacon of biodiversity, and a paradise for pollinators, especially the bees.

It wasn’t long until that bright yellow patch lured the wild honeybees. I would watch them pollinate, then fly way back to the ranching pastures over the stone fence. The wasps stayed and continued working, as did a wide variety of parasitic wasps that enjoyed the smaller blooms. Purple leaved Japanese mustard was a particularly fun addition. Not only did I love to eat the steamed leaves, I used these plants to mark the base of the squash plants. This was helpful, as my squash plants lived about two years, and the water and amendments needed to go at the base of the plant. with over a hundred vines crawling this way and that. a plant like purple mustard was easy to spot, and it would send out stalks of flowers too. I’d also plant some bean plants right there at the base of the squash too, especially my beloved lima beans, so that they would produce nitrogen, small bloomed flowers for the parasitic wasps, and of course food for people.

All of these heirloom varieties were given the opportunity to set seed after the flowers bloomed, creating an endless cycle that kept the pollinators satisfied with a year round food supply. I chose plants based on Hawaii’s growing conditions and soil needs, you may choose different flowers and plants based on your needs. Sunflowers can be tricky where I was growing, because of the high circular winds that would knock them down. Seed saving year after year produced plants that were more adapted to these winds. I chose a tall heirloom marigold from California. It was just a few inches taller than the tallest leaves on the squash, therefore being up and out of the vines so to be seen by the bees. I could go on endlessly about pigeon pea, and I often do. As a shrub, it becomes perennial in Hawaii, and it worked as a nematode fighter, windbreak, pollinator attractant, natural fertilizer, food producing plant for animal and humans, and a shelter for the birds during bad weather. With over 17 years of drought, Hawaiian Ilima plants were becoming scarce. There may also be some yellow flowered native plants in your area that you can help out, as they will also help you.

Planting Time in Hawaii

The number one garden question that I receive is seemingly simple, “when do I plant in Hawaii?” In reality, it is a very complex question, especially with our changing weather patterns. What is my answer? Frequently. Get new plants started as frequently as you can, and try a range of edible plant types. This year was a tropical storm year which brought a wild range of growing conditions at 2700ft elevation. Colder, and wetter than normal, and we cannot forget the seemingly endless winds. Though the combination caused a diminished squash crop, other vegetables thrived. Let me explain.

When temperatures and humidity levels shift rapidly, some plants refuse to set fruit. Squash is well known for hitting the pause button when it isn’t getting what it needs. Some plants need it to be warmer, some need it to be less windy, and other plants are more impacted by day length. Observation is the key to understanding this. Some of you may recall my transplanting many stunted Aji Limon chili peppers a few days before Christmas, 2015. Though slow to grow, the wet season that December (sometimes) brings was just right for them. They became big, full plants, and then fruited profusely in June. This had them producing chili just in time for pairing them with mango. It is now October, and those one time stunted, and seemingly mistimed plants, have remained in continuous fruiting. I am sharing this to remind us that every day, every plant, and every challenge, gives us an opportunity to learn. Most mainland planters may have kept those peppers in pots until March or April. I was tempted to try to over winter them in pots. As it turned out, these Peruvian peppers liked the cooler temps, and additional humidity that an upcountry Winter can bring. I learned that not all peppers are alike. Weather that made some chili plants dormant, made another double in scale.

Just this week we had snow on the mountain, known as Mauna Kea volcano. Though the snow is at 14,000ft, and I am at 2700 ft, it impacts my growing, by bringing cool winds down the slope. In order to make the most of this endlessly cold year, I am getting out the seed flats again, and getting a lot of leafy greens going…again. Swiss chard, a variety of kale, collards, peas, and favas will all love this season. Since the temperature is changing rapidly from day to day, I am also using this window of time, where we still have quite a bit of warmth, to start some more tomatillos. I am taking the risk to try a few more pepper starts that all need quite warm days to germinate. Will it work? Only time will tell, but I do know that having a wide variety of plants will keep you, and your community well fed, no matter what season holds in store. Just like these loveable heirlooms, we can adapt, and we will be better gardeners for it. Aloha!

Top 5 things I do prior to travel

I get a lot of questions about how I manage to get away from the farm. There are several things I “set up” prior to my departure that makes all run a bit more smoothly.

1) Amend the soil with farm made fish emulsion. A strong plant will have a higher chance of surviving/and or fruiting.

2) Refill tropical fruit fly stations and secure them against wind. This will keep pest pressure down while the farmer is away.

3) Make microbe rich bokashi and add to compost tumblers and composting piles.

4) Trim vines back all around irrigation heads that are set on timers. This will help keep the vines from blocking the flow of water to your plants.

5) Make new buckets of fish emulsion. They will ferment while you are away, leaving you well stocked with natural fertilizer when you return home.

The Right Tool for the Job

Farming and gardening are tool driven activities.  But how much is enough, and how much is too much.  Since I run a zero-waste farm, I also encourage others to source used tools.  Used tools are often better tools.  Why?  Well, the quality of materials has made a sharp decline in the last 10 years, but a drastic drop in quality in the past five years.  I enjoy going to resale shops in search of things made of metal and wood.  On one such scavenger mission, the lady checking me out said, “hmmm a bunch of junk.”  I smiled and said in return, that “metal junk is better than plastic junk.” and she agreed.  For $5 I picked up some hand tools, and an adjustable spray nozzle.  They did look rough, agreed, but they were made of metal and will far outlast their contemporary counterparts that you find in big box stores.

I decided that I didn’t need “pretty tools” but I do need durable ones.  Not to mention giving them one last use is always on my mind.  The spray nozzle is hard to find now, as many have been replaced with bright colored plastic that does not do well with all the things garden tools need to handle, like heavy usage, and sun. Same goes for the tools, some of the metals that are used for lower end tools for both the garden and garage are flimsy.  The metal has bent in my hands.  I would choose rusty over new any day.  Check and see if the tool can be repaired.  Can a good solid head for a hoe be put on a new handle?  Granted a new handle can cost the same as a new hoe, but some of the new heads on hoes and shovels are almost a throw away from the start.

The pruners in the image are a junky new ones, that are not fantastic, unlike the quality (and cost) of the high end European ones. With some oil and care, they can be put to use again.  The scrub brush on the other hand is a new brush made of palm fiber.  They are brought into Hawaii from Japan.  I like them, because I dislike plastic scrub brushes.  This one is cheap, natural, breaks down in the compost (leaving only a piece of wire behind) and it dries fast in the hot sun, which is important for sanitation.

So take a look around next time you are at a resale shop or tag sale.  Don’t be afraid of a little surface rust.  They will serve you well, and if you get a rainy day, you can look up online or in a library how to care for them, or even refurbish them.  My $5 shoebox of tools would have cost over $100 new, and I have avoided a lot of cheap plastic and cheap quality metal. It just makes sense in so many ways.  Ask yourself, “does it need to be new?”

Ark of Taste Seeds from Baker Creek!

A couple weeks ago, I was at the Baker Creek Heirloom Seeds headquarters in the Missouri Ozarks.  I sat down in Jere Gettle’s office and spilled the beans:  I had been selected as a Slow Food USA Delegate to represent Hawaii at Terra Madre.  I was shaken, and excited about the prospects.  I had just given a speech a couple days prior at The Spring Planting Festival that explained how heirloom seeds assisted me in finding growing solutions that resist pests, disease, and drought here in Hawaii.  Some of those solutions were found in Ark of Taste seeds.  Take a look at Slow Food’s Ark of Taste .  These are historic vegetables that were in danger of extinction.  How do we keep them going?  Grow them, eat them, put them in our markets, our menus, reconnect them with our lives.  They have been around a long time…for good reason.  They are resilient, and delicious.

I am thrilled to report that Baker Creek Heirloom Seeds has now donated an entire case of Ark of Taste heirloom vegetable seeds to assist in getting me to my Slow Food USA delegate position in Italy…yes, it is in Italy!  Check it out here:  Terra Madre  Two years ago I was cheering for some of my favorite family farmers as they packed their bags and went off to represent all of us.  Now it is my turn to do so.  I will be posting more in the future, but let’s get back to the seeds.

Since funds are being collected to get me that very long way from Hawaii…all the way across the globe to Italy, I am trying to make fundraising fun, and also have some serious perks for the Hawaii community.  What better way to celebrate along with our USA delegation, and be with us in spirit as we represent in Italy, than to be growing Ark of Taste seeds in your gardens? Kind of a seed solidarity!  Jere and Lisa let me go though the vast array of seeds and seek out Ark of Taste varieties that had a strong chance of thriving in Hawaii.  I made my selection, and they have shipped them here.  This generous gift will be helping me, and the seeds will be helping the community here in Hawaii.  Everyone wins!

I have put together a GoFundMe funding page where you can put me to work! That is right, put me to work.  For every action there is an equally loving action performed.  You can send me off to an Italian rare beans cooking class at Terra Madre…then I will give a rare beans class for Hawaii students or adults.  You help put me on a plane to Italy…I will help put food on our communities tables through food pantry donation.  Win, win…win.  I am curating Ark of Taste seed packets into baskets for a silent auction (more on that later) and individual seed packets will also be sent out to those who sponsor at any level $20 and over!  You can also sponsor, and have your seeds donated to a school garden, or a Hawaii gardener.   I have a list of people who will make good use of these seeds! Slow Food is all about community, so please assist in my efforts at building community.  Follow along too on my farm Facebook page and you will see how much is happening.  So think about what you would like to see in the community.  Pick your favorite schools, pick your favorite community action and I will teach what I know.  Thank you for your time, your support, and thank you to those who read this and are currently clearing space in their garden to grow Art of Taste vegetables…it all matters.

Waimea Gold

A brief note to update you all on a new variety I am breeding for Hawaii.  It is called “Waimea Gold,” and it is growing beautifully here.  I have crossed two strong landraces, then inter planted with other c. moschatas that were performing well. I allowed them to again cross, and now I am hand pollinating and selecting traits.  This last step is currently going on, and it will be part of the stabilization process.

The result is a market variety that is beginning to show up at some of our farmer’s markets, and the chefs have been serving them up too.  I have given seed to two local farmers that are growing them already. They have noted that it just “wants to grow” which is exactly what we need.  No fuss. But I will be doing a bit of fussing in the months ahead, as I continue to stabilize the traits.

For those of you interested in plant/squash breeding, here are the traits that I am selecting for:  Small size (3-4lb max), smooth, easy to peel, versatility in flavor profile (can be used in a wide variety of dishes,) pest and disease resistance (especially powdery mildew and pickleworm,) and best of all it is a contender to give the imported bland little kabochas a run for their money.  Tasty and local…not to mention kinda cute.  Here are the current photos! The green ties on the stem mark that the pumpkin blooms were hand pollinated for seed purity. So Waimea….let’s hope we have struck gold!

Squash Rich Soil Poor

Two years ago, I planted a new area with squash, I was hopeful and optimistic.  It was open, free of the Iron wood trees, but it desperately lacked soil and the area needed serious rehabilitation.  I thought I had given it a good look over, but what I had underestimated was the wind. I was fortunate to have timed my plantings in a year where heavy rains broke the 15+ year drought. The plants thrived.  But then the winds came, and destroyed the raised beds, made irrigation very complicated, while also setting back my optimism.  Those Winter rains were a fluke, and they haven’t returned again.  The wind gusts, on the other hand, have returned with great force, just when you least expect them.  For the last two and a half months it has been blowing, then punctuated by dead calm. As a personal challenge, I decided to rethink that area, and figure out how to do raised beds in a wind gust area while also using minimal irrigation.  I needed to figure out a way to farm rock.

I walked the area with Randy, the AG (mainly pest and plant disease) inspector.  He kicked the ground and noted that they call it the Kau Desert for good reason.  He is facing retirement at a time when farming in Hawaii has hit some pretty hard times.  My projects seemed to offer him hope and a few smiles in is last years as an AG field agent. Farmers often speak of rocky soil, but this isn’t that.  This is rock, period.  100 years ago, and as recent as 50 years back, the Japanese farmers of this area just removed rock day after day.  When I say rock, I should note that they are boulders. They created areas of farmland from this rocky outcropping.  Some areas are now cultivated by tilling methods, some are run as ranchland, and my borrowed parcel is run as no-till.  This Spring I am again facing off with the hardest to farm section of the property.  Here, patches of rock that have been exposed by years of wind erosion, and that hard layer of stone will be under my beds.  Under normal circumstances, you would never plant on top of rock, but this is a test of possibility.  If you can grow there, your system will grow just about anywhere.

The above photo shows what the ground looks like under the new garden system that I am creating.  Roots will not be able to penetrate those stones, so all that they need will have to be delivered through the raised bed system.  The soil that is there is no longer capable of absorbing and retaining water.  But soil has an amazing ability to be transformed back into a condition where it will absorb water. So let’s get to work…what needs to be done?  First think about your wind and wind directions.  Where is it blowing from most of the time?  I am planning on running one simple soaker hose through the base of this bed.  Overhead isn’t going to work like it does in my other patch.  In the main patch, overhead works, because whenever the wind blows, it will blow the water onto a plant, in this area, that isn’t so. Also minimal overhead irrigation works in the other patch because of the tons of soil building materials that were reclaimed and put to work as a living mulch. A technique that works in one area may not work right across the road.  So once you think through your irrigation strategy, think about the movement of the sun.  In Hawaii, you can really notice a difference in the direction of the sun’s rays, season by season.  Lastly, is it in a location where you will be able to check on it easily?  Anytime you are doing a test project, a watchful eye is going to lead you to learning from the experience.

I reused some wire table tops for multiple reasons, I wanted to see if they would:

1)keep the wind from tipping over the stacked design of the beds

2)keep the chickens out

3)create a sturdy base for a trellis

This is what they look like with a variety of squash and edible gourds creeping through.

DSC_1196

Not bad, but it gets better.  Since I have been working to locate and breed heirloom varieties that are disease resistant, I am putting that to the test as well.  Powdery mildew knocks growers flat when they first start growing in Hawaii.  This method of mine would never work without the prior, careful study of natural disease resistance. So in other words, know your plants first.  I am planting absurdly close plantings of all kinds of things: tomatoes, beans, mustard greens, tomatillos, even some flowers.  Most of these I have grown before, but some are new to me heirloom varieties that are getting their “test” here at the farm, such as the Zuni Gold bean that is loved in New Mexico. We see how things turn out for them this year.

DSC_1246

The idea is to create a mini food forest with tier upon tier of food. It is my own interpretation of the “Three Sisters” planting method, combined with another Native American technique that includes burying fish.  I have fermented the fish first, adding much needed microbes to the mix.  My compost scares people.  But I am in Hawaii and we don’t even have compost facilities anywhere near where I live.  I became the compost facility by working with my chef customers. Raw and fermented material is at the bottom, and it will have plants growing above it.

The close plantings will be a “only the strong survive” kinda deal. Plants can “work it out” and find their ways to get enough sun, water and nutrients. So far, they are working together nicely. are two months in. These close plantings also protect from the drying, harsh winds.  These close plantings also create strength in numbers by supporting each other against the gusts.  High winds can snap tomato and tomatillo stalks, even with some trellising.  This will help your system to better take care of itself. Not only will this planting method provide a great variety of foods and beans will add nitrogen to the soil, it is also planted with bees in mind.  Bees area squash growers friend, but unfortunately, they are few in number here where I grow.  So I make a bee buffet of all kinds of blooms.  I plant in harmony with the native Hawaiian plant Ilima and give those small blooming shrubs extra care and nutrition, and they supply lovely blooms to attract our bees.

DSC_1231

Here we see tomatillos growing in harmony with the squash plants.  Those bright yellow blooms will be a beacon to the bees.  Strings run up from the table tops to a simple bamboo trellis that has the ability to shift in the wind.  It has already withstood nearly 20 days of heavy wind, so it has proven itself.  DSC_1247

As for the chicken proofing, Hunter is seen here patroling the surrounds while not disturbing the plants themselves.  The chickens and I have all enjoyed their collecting of many harmful to the garden insects.  I should also note that these plants are growing in very raw compost, and all reclaimed materials were used.  This is not something that I advise you to do, but I am doing it as a means to see how fast the restaurant waste can turn to soil.  It can be done with careful planning, and a lot of trial and error.  I will leave that for another post.  So I encourage you into thinking of creative ways to grow your food, create your soil, save our water and nourish our bees.  If this can be grown on rock using restaurant waste, so much is possible.