Tag Archives: Hawaii
Cardboard at the Farm…Zero Waste Super Soil
Spoonable Heirloom Chili Pepper Oil
No matter whether you like your meals spiced mildly or for maximum heat, here is a simple way to capture the delightful tastes of heirloom chili peppers. This ten minute process will allow you to keep some summer heat long after production stops, or for those of us with come and go chili seasons, it captures the bounty until it returns.

When I returned from the Ozarks, there was a wide array waiting for me to select from. I decided to make a nice hot version with the sun ripened fresh chilis. You can make a mild oil by using mild green chilis, then up the heat with ripe ones. The olive oil diffuses the flavor in a way very different from hot sauce. I like to start with a couple handfuls of peppers fresh from the plants. I cut off the stem end, and reserve the cuttings for my fire-breathing flock of hens. Cayenne tends to be the top poultry pleaser. They often get into a scuffle over the pepper bits. I have read that it is healthy for them, just like chilis are for us.
Then simply drop the trimmed peppers into the food processor container that is fitted with the chopping blade. Be careful not to breathe in the crushed chili fumes, as it will irritate your lungs. Some people prefer to use safety glasses and gloves as well. This process allows the food processor to do most of the chopping, instead of you, but use caution regardless.
Pulse them to a fine chop, and add a bit of olive oil at the end, so to make the mixture easy to pour. Garlic lovers: peel and add a couple of cloves to the container and pulse them right along with the chilis.


With a rubber spatula, scrape the sides of the container as you pour the chili mix into a clean 1/2 pint or pint jar. I make this by the pint, because I use it in so many things. It adds a refined chili infusion rather than over the top heat. Top off the jar with more good quality organic olive oil. Place on the lid, and shake lightly. I will leave this jar on the counter overnight for the flavor to set, then invert the jar onto a plate, and place in the refrigerator.

As the oil is refrigerated, it will solidify. Turning the jar every couple of hours, or at least once before it is solidified, will make the chilis more evenly dispersed. When I use up the top 1/2 of the jar, I often add more oil and mix it in with the glut of chilis that sunk to the bottom of the jar.
I like to take a heaping spoonful, and use it as you would use olive oil in any recipe. I use it mixed with basil, garlic, and rosemary to marinate my pumpkin slices on the grill. It is lovely mixed into stir fry, with greens, spaghetti sauce, and mixed into plain rice. The olive oil will return to liquid at room temperature, so spoon out what you need, and return the jar to the fridge for storage. Try dragging a piece of toasted garlic bread through it, or drizzling over pizza instead of pepper flakes. The uses are endless, and it will make a well seasoned meal in minutes. This oil should last a couple of months in the refrigerator. Mine rarely lasts, simply because it is a part of so much of my cooking. Enjoy this little bit from pepper paradise!
Preparing to travel to Baker Creek Headquarters for the Spring Planting Festival
I am a bit nervous as I prepare to leave the farm for 7 days so to be an active participant of the Baker Creek Heirloom Seeds Spring Planting Festival. http://www.rareseeds.com/spring-planting-festival/ It will be taking place at their Missouri headquarters on Sunday and Monday, May 3rd and 4th. Forgive the fact that I say Sat and Sunday in my video…It is Sunday and Monday, and I am a bit giddy about the whole thing. I will be giving two talks now, one on Sunday and one on Monday. I am most grateful and excited to be going.
So now, aside from saying the wrong days in the video, the rest is good information, that I hope you will enjoy. How do you get ready to go especially when it is prime time to be farming here in Hawaii? Take some small, but strategic steps toward starting seedlings, so that they are ready to go upon your return. I use reclaimed basalt blocks that are cut down and soaked in water. Each will hold one squash seedling, and they will make it so that minimal disturbance to the root system will take place at transplanting. Squash generally do not like to be transplanted…so this is a real happy success to share. I have increased both productivity, and my germination speed by this method. So sit back and enjoy, and maybe I will see you on Sunday or Monday there at the Spring Planting Festival!
A Week in Images
Spring Cleaning at the Farm
In mid April, I have my days set on clean up. Pulling grass, pruning chilis and eggplants, and replanting for the seasons ahead. In the ever variable weather conditions of upcountry Hawaii, “now or never” springs to mind. So here I am showing you how my mini kitchen gardens dapple the farm. Though the invasive grass of the area may smother, it also protects the freshly made soil from wind erosion, as well as dehydration from the sun.
So try to think your way through tough situations, like how to deal with a smothering, drought hearty invasive grass that was brought in for the cattle industry, yet smothers the rest of us. You are never going to win in this battle, you can only figure how to work with it’s existing properties. Kikuyu grass exists in Hawaii from 6000 ft elevation on down. It also smothers other places like Australia. Mowing it is one use, but the grass can be used as a living mulch that will retain soil moisture as squash vines crawl on top of it. The grass can make bee pollination difficult, but at the same time, for squash, it can also make it difficult for melon fly and pickle worm to attack your squash plants. There is an upside and usually a downside to just about any farm related matter in Hawaii.
Small Steps to Save Water on the Farm
Drought comes and goes, so what better way to get your farm or garden ready, then by taking some small steps now. You will already have a water saving style in play if and when you have a dry season, year, or series of years. Being a zero-waste farm is a great way to think of ways to give things a second chance, be it containers, or water, the main reuse featured here. Thinking in terms of water reuse will become natural when you think of water every time you turn on the hose.
Here is a quick and efficient way to make fruit fly traps. For those of you in areas like Hawaii, fruit fly trap making is a critical part of most farms. It is a great way to reuse plastic cups and bottles as well as reuse soapy water from the drain of the hand wash sink. I use Dr Bronner’s Pure Castile Bar Soaps at the farm and at home. Each bar goes a long way and there is a scent for everyone. Peppermint is a really great one for scrubbing up after stinky jobs like composting fish. The pure soap make for a great soap water base that is used in the bottom of your fruit fly trap.
Simply catch the soap water as it comes out of the modified drain pipe, then pour into your homemade fly traps, and insert the appropriate fly bait. Soapy water is used to keep the flies from climbing back out of the trap. The middle and last images are house/bottle fly traps used to control fly numbers near the compost/fish emulsion station. All are made using items that were free and needed a new use.
Hot dry weather means flies of all kinds are in peak numbers at the farm. The flies drown quickly in the soapy water, and are then composted. Your fly numbers will be kept in check.
Rinse water is used to rinse many buckets in a “bucket to bucket” reuse before it is reused to make a diluted fertilizer as in my video above, or water seedlings and for rooting cuttings. Plain non-soapy rinse water can also be poured into shallow trays for the birds, bees, toads, and lizards that patrol the farm and help in so many ways.
I challenge you to fill a few buckets as if you are in preparation for the water to be turned off, then see in one day how many ways you can use those few gallons. You may be surprised how far it will go. We will all thank you for it.
Rare Gori Blue Mottled Pumpkin Trials
Growing Species Maxima squash in Hawaii has its share of complications, which is why I do not give up. I am looking for solutions. In the islands, Maxima pumpkins are rare, usually only showing themselves in giant pumpkin contests. also, they are usually not grown organically, even though chemicals are of little help when it comes to the two big island foes of the squash family: Pickle worm and Melon Fly. Throw in three other varieties of tropical fruit fly, endless powdery mildew, and seed digging, fruit munching rodents, and cheap low-end hybrid squash arriving on our shores in hundreds of tons, there is a reason or two why the state of Hawaii lost this crop commercially.
…but it is tasty…and beautiful, so I continue on with my quest
(Sorry to the kind people of Georgia. I’ve used the outdated name “Republic of Georgia” in the video, and also noted that it was in Asia rather than Europe. I should have consulted the atlas first!)
That is a little background so that you understand why a success with a pumpkin is a success in a much larger sense. Take the Gori Blue Mottled pumpkin of Gori, Georgia (Europe.) The seeds have been in my possession after Joe Simcox the Seed Explorer wanted to see if I could grow them out for more seed. I cringed at the thought of struggling with yet another nearly sure to fail Maxima, but I agreed, and I am happy that I did. You see, as it happened, I learned a lot from this pumpkin. It dodged a very critical bullet in that it managed to avoid detection of the oh so sneaky Melon Fly. It did not avoid the gaze and destruction of the Pickle Worm
/moth. But one out of two isn’t so bad, it is somewhat manageable as long as you know what you are getting yourself into. Both predators come in cycles, related to seasons, heat, moisture…the usual. If you give your plants enough nutrition, these long season growers are sure to have a few fruits that manage to avoid the moth/worm cycle. Pickle worm attacks stem, bloom, pollinated fruit, un pollinated fruit….yes, everything. They were the last straw for our commercial pumpkin industry. The ornamental Maximas are much easier to grow
(think Halloween) the bland, non sweet fruits tempt no one, human nor Melon fly. It does make a great treat for livestock and pets who don’t care that it is tasteless and watery.
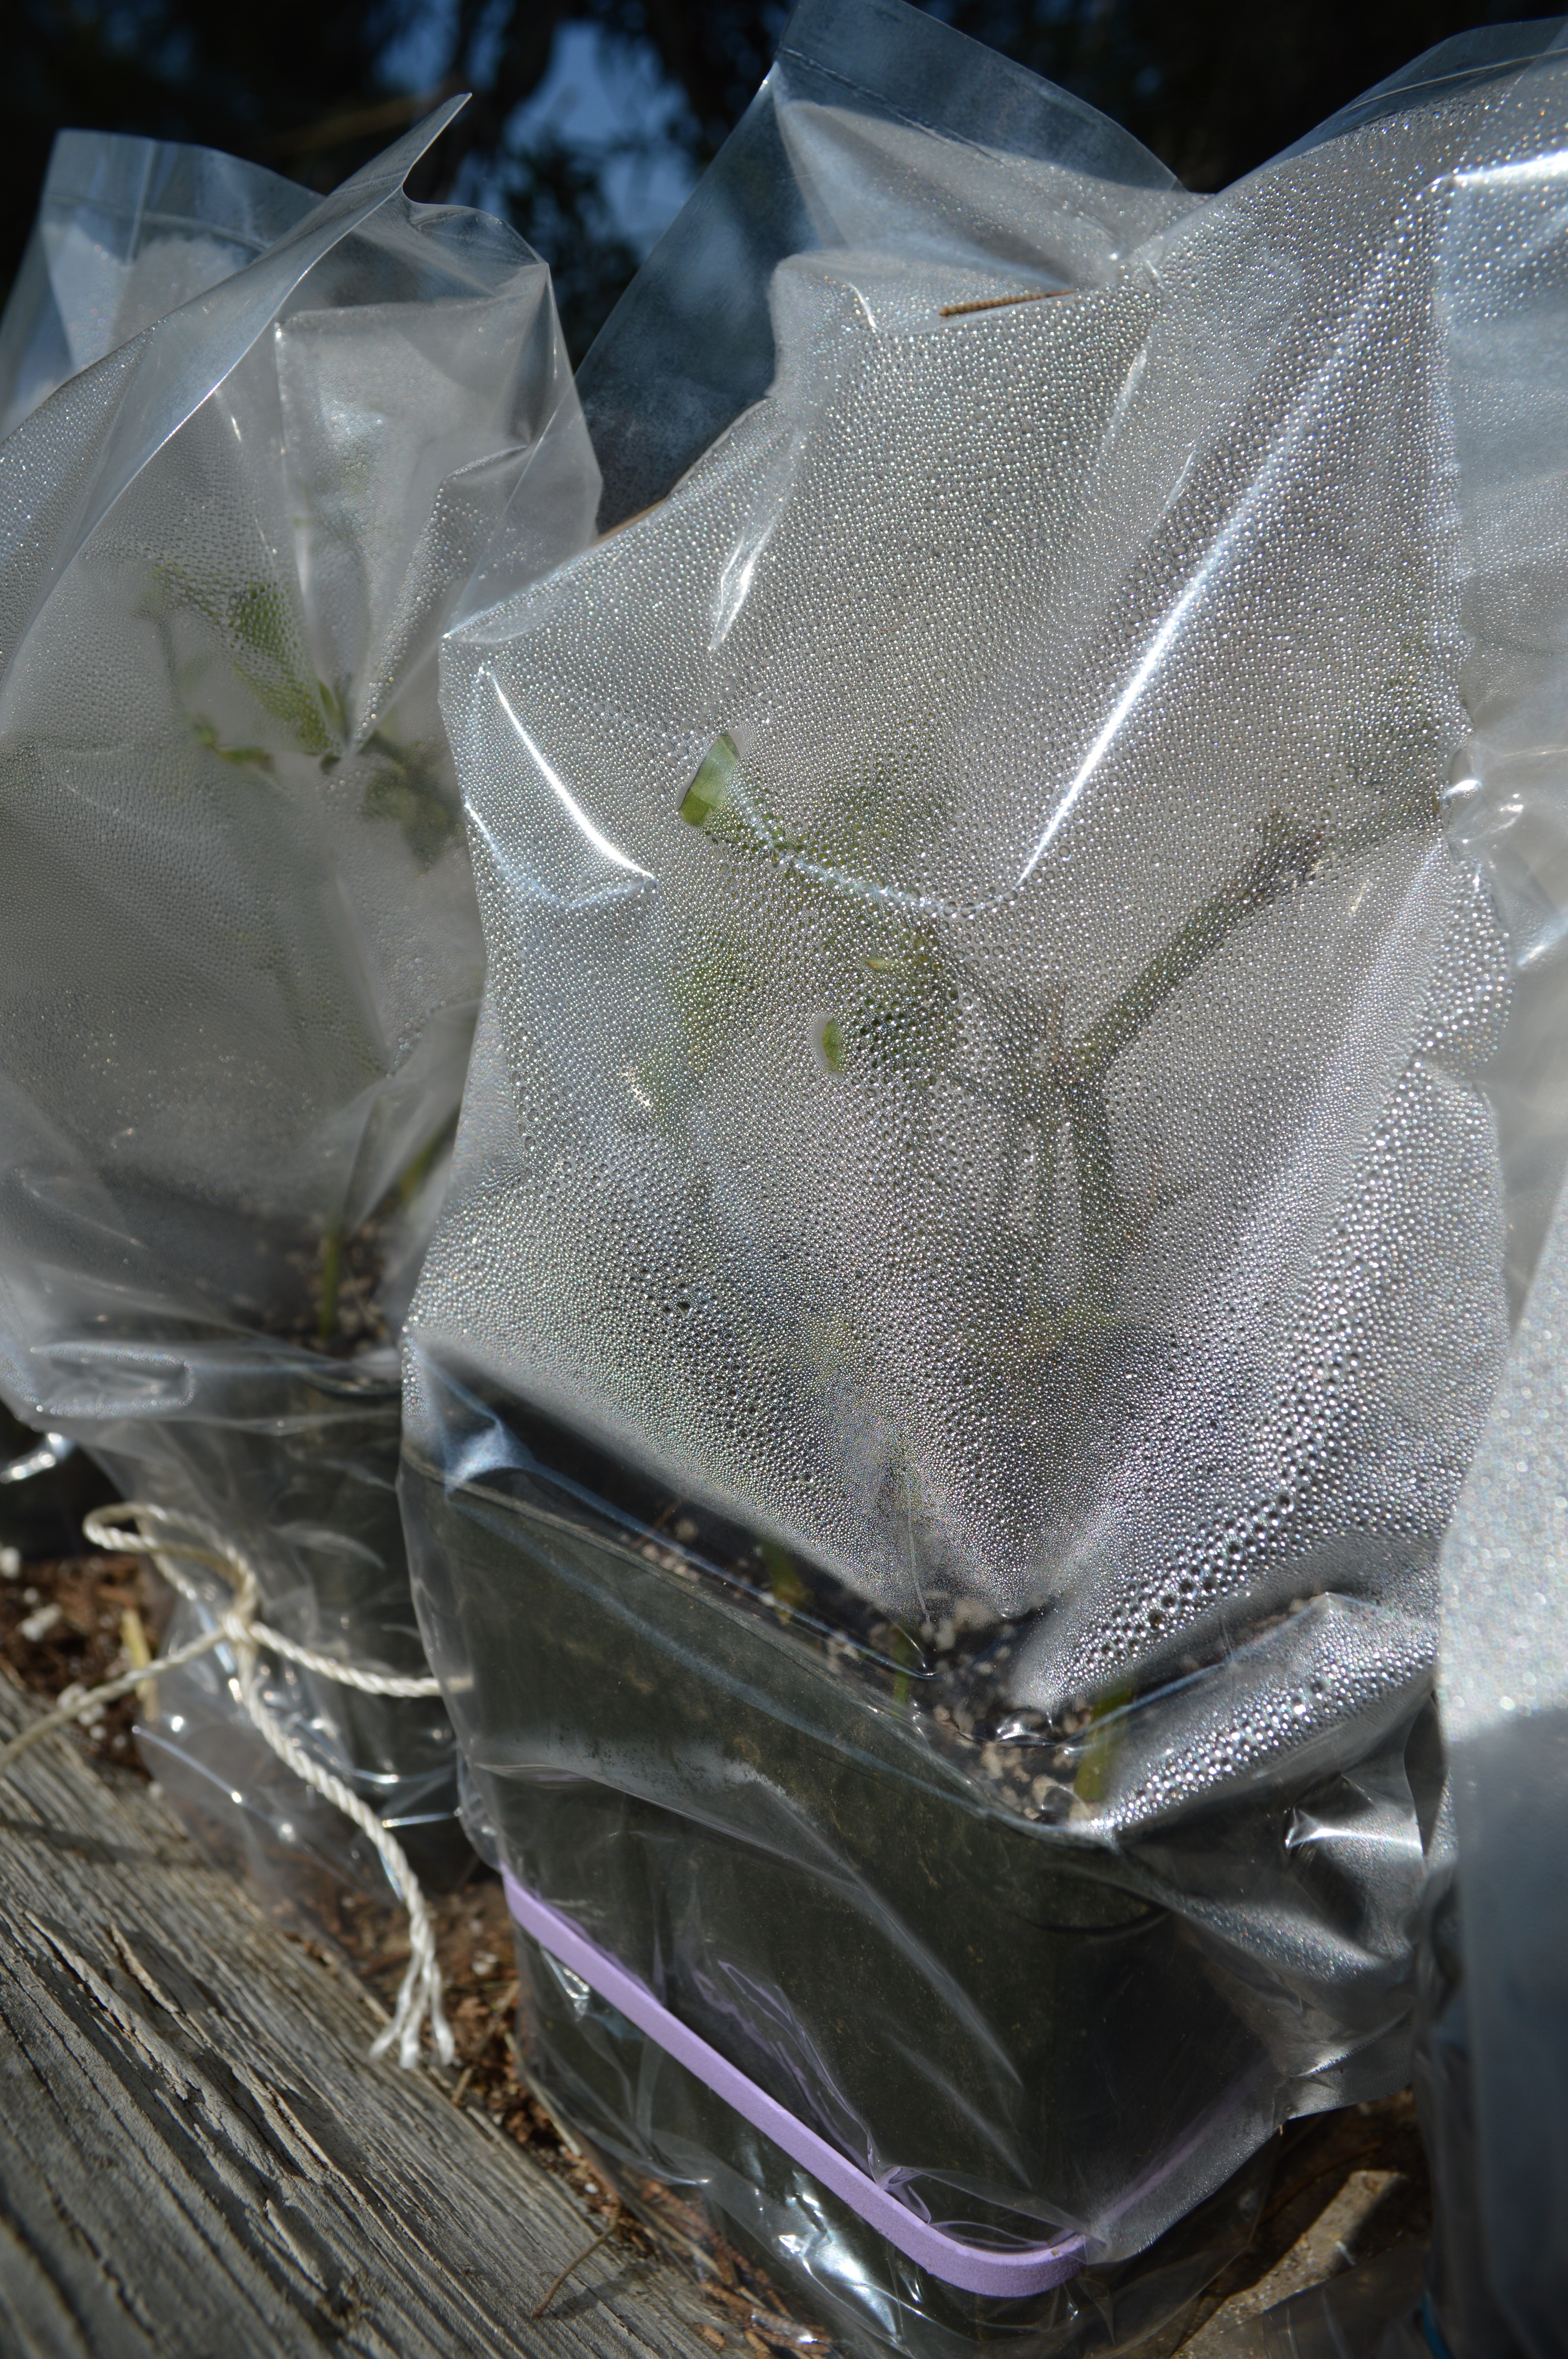
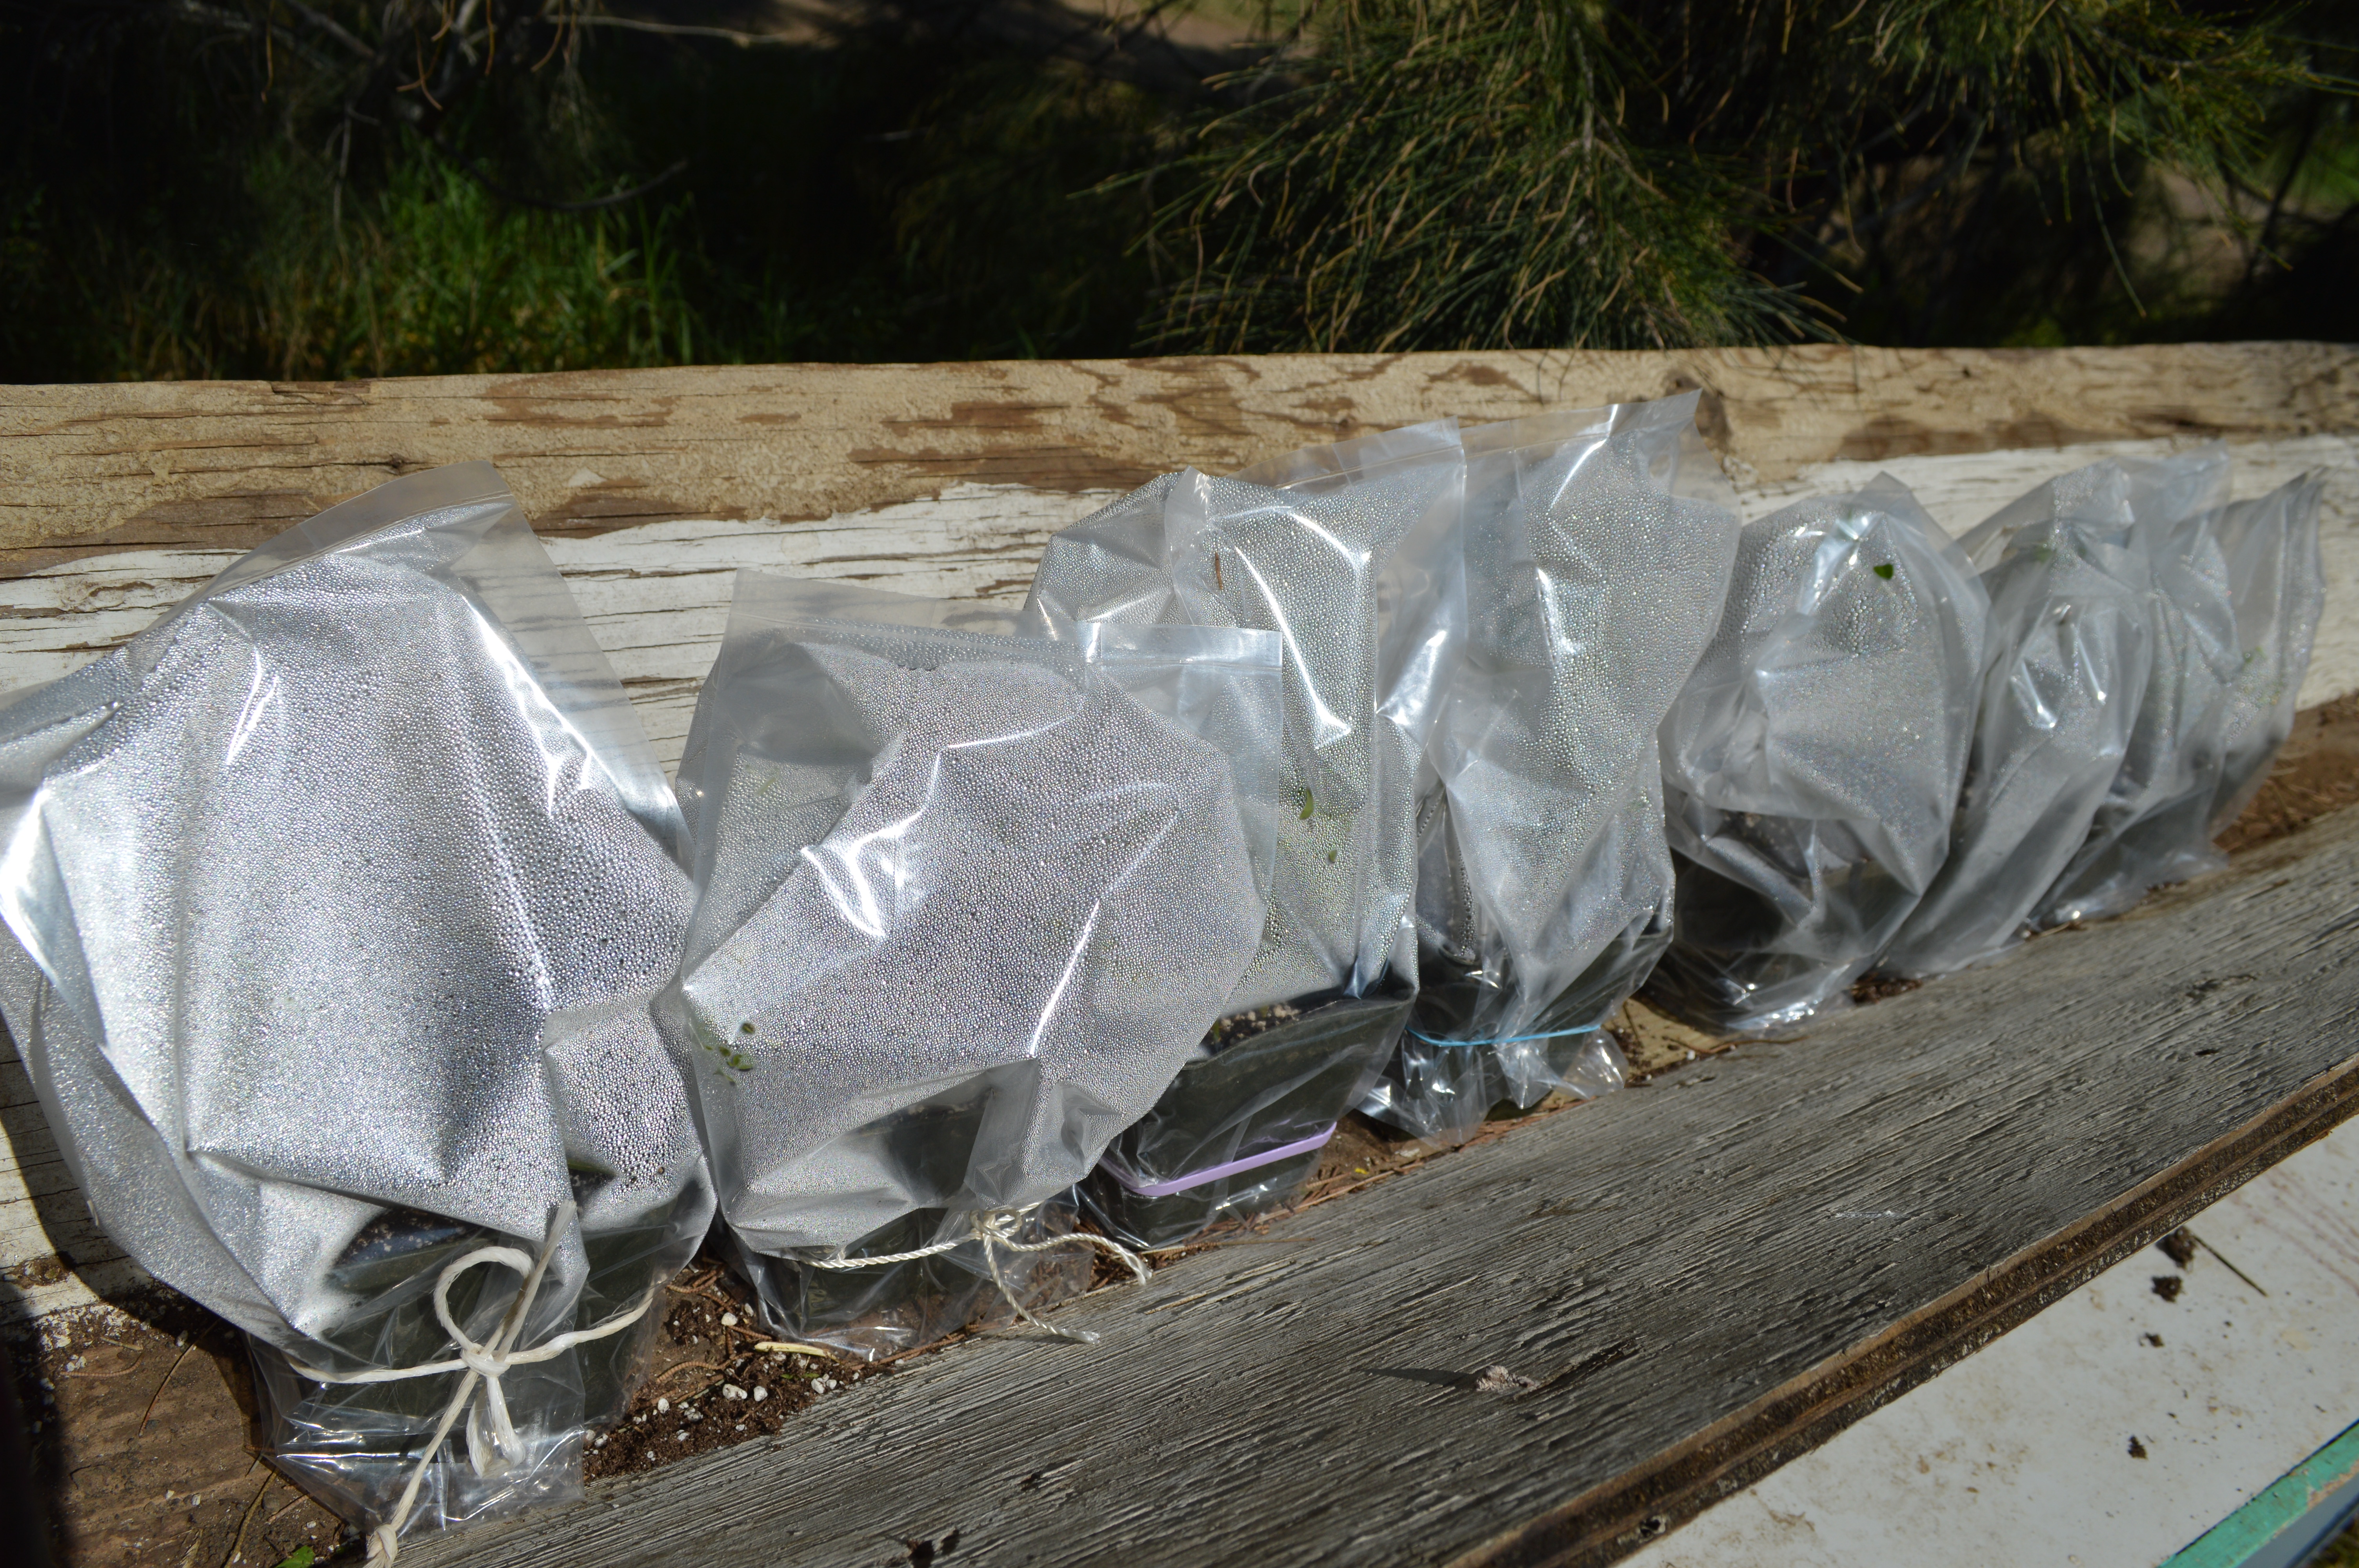
So featured here in the video is a roughed up 2nd generation specimen that fell out of a tall shrub. The robust vine got a bit carried away and climbed high, only to have the 15 lb fruit crash down during a windstorm. In the quick video, I make a few mistakes, one being that I say it is small for it’s size, I meant to say it has a small seed cavity for it’s size, a great point for culinary varieties. I infer that it is small…but only small for me (15 vs 30 pounders) I also note that I am going to plant them in the kitchen…oh well, I would re-shoot, but it is already prepped and a good quantity was eaten by me. So bear with me. I also would like to recommend Hawaii growers to break off the thick stem of all Maxima variety, due to a multitude of reasons that I will cover later. Just trust me on that one, and I hope all will be inspired by a little “squash success.” 
Learning to Propagate Chilis from Cuttings
It was time to give the yearling Ghost Pepper plants a severe pruning. Reducing them by 50% was less painful, when I got the idea to propagate from cuttings. Here are my attempt to do so using the simplest of tools. Reclaimed growers rockwool are used for some, while potting mix is being used in others. Other tools needed are : large sandwich type plastic bags, rubber bands, or string, small containers, trays of water, a sharp knife, pruners, and liquid (or powdered) rooting compound.
I used cutting from my Ghost pepper plants, Aji Limon, and Thai Dragon.
Tips:
Keep them moist and out of direct sun (these were moved after being photographed)
Short stems with two sets of leaves are best
Avoid using woody stems
Slice stem at an angle to increase rooting surface
Remove all leaves except for growing one at tip
Use bags to keep humidity high
label varieties
roots should form in 3 weeks
Transplant into soil after 3 weeks
No-till Seasonal Rotation
It was challenging to time my rotation this Spring. I had waited and waited and tried to coax out every pumpkin I could get. Then when the production made a swift drop, I went with a hunch and climbed up on the tractor to mow the vines and the grass. There is a point, that even after pruning, and amending the squash plants, where their production levels take a severe drop. For me this came just short of year #2 when the well tended vines were about 21 months old. I watched daily for male blooms, but when even their numbers were down, I made the drastic cuts and rebuilding that I will be rewarded for later this Summer.
The no-till patch is created in a clock like pattern of raised mounds of homemade soil. The mounds were constructed from brewery waste hops, horse manure, mulch, coconut fiber, and fish emulsion created in April of 2013. The images show the following: The mowed field grass dried in the sun, checking the farm made soil mounds for quality, new cardboard was sheet mulched into the center of the “clock like” growing patch. This card board builds soil, retains water, and will give the worms a great place to thrive. I started to wet the cardboard with the overhead, then the rains came, which was very good luck. Next image is of roughly 1/2 of the clock patch being mowed and altered to a time. I have weekly orders to fill, so I must leave as many active plants going as possible, while I begin the new plants. Weather can be very up and down this time of year (hot days quickly turn to cold horizontal rains like today) Growth can be sluggish for the vines that like normal summer type days. Next image, I am pulling back the cut grass to show the growing mounds that became lost in a sea of vines and creeping grass. These mounds will be weeded, amended with farm made fish emulsion, then surrounded by cardboard as in the circle center. Then I will replant with a variety of heirloom squash, some tomatillos and okra…maybe some eggplants…
It felt risky to chop any vine that was producing, but I know as those new productive vines sprawl in a couple of months, I will be sitting back in my chair, sipping a lime aid, thinking that this was exactly what needed to be done.


